The project titled “Inventory Control System” is to control the general stores department. Hindustan Shipyard Limited is an automation of issuing an item to different departments inside the organization, returning back the item to the stores if the department doesn’t have any need with the item or if the stock is full, issuing the receipt to the department to whom the item is being issued, checking the balance of the stock of each item, making a new purchase of an item if the store doesn’t contains the stock of that particular item.
The purchase of an item is indifferent modes i.e., local abroad and indigenous. If the item is purchased locally then it is said to be local. If the item is imported from other countries then it is said to be imported. If the item is purchased from any department inside the organization then it is said to be indigenous.
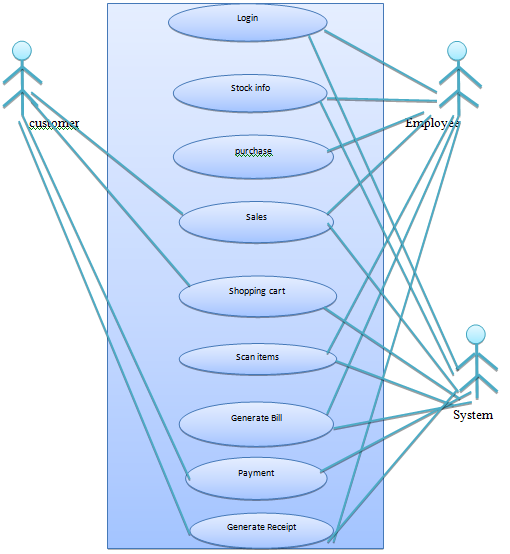
The project contains five modules:
Issue Module, Returns Module, Receipts Module, Balance Module and Purchase Module.
The Issue Module contains the information about the item are issued by the department to various other department in the organization. This module contains the following fields as card code, item code, department code, work order number, document number, transaction date, rate of the item, quantity of the item to be issued, its value.
The Returns Module contains the information about the item are issued by the department to various other department in the organization. This module contains the same fields as in the issue module they are as follow fields card code, item code, department code, work order number, document number, rate of the item, transaction date, quantity of the item to be issued, its value.
The Receipts module contains the information about the item that are issued and address of the department to which the item was sold are the supplier details. The details contains the following fields as card code, item code, department Code, order number, document number, transaction date, rate of the item, quantity of the item to be issued, its supplier details.
The Balance module contains the information about the balance that is/was present before/after the issue of each item and about the new stock. This module contains the following fields as card code, item code, department code, rate of the item transaction code, transaction date, quantity of the item to be issued, its value.
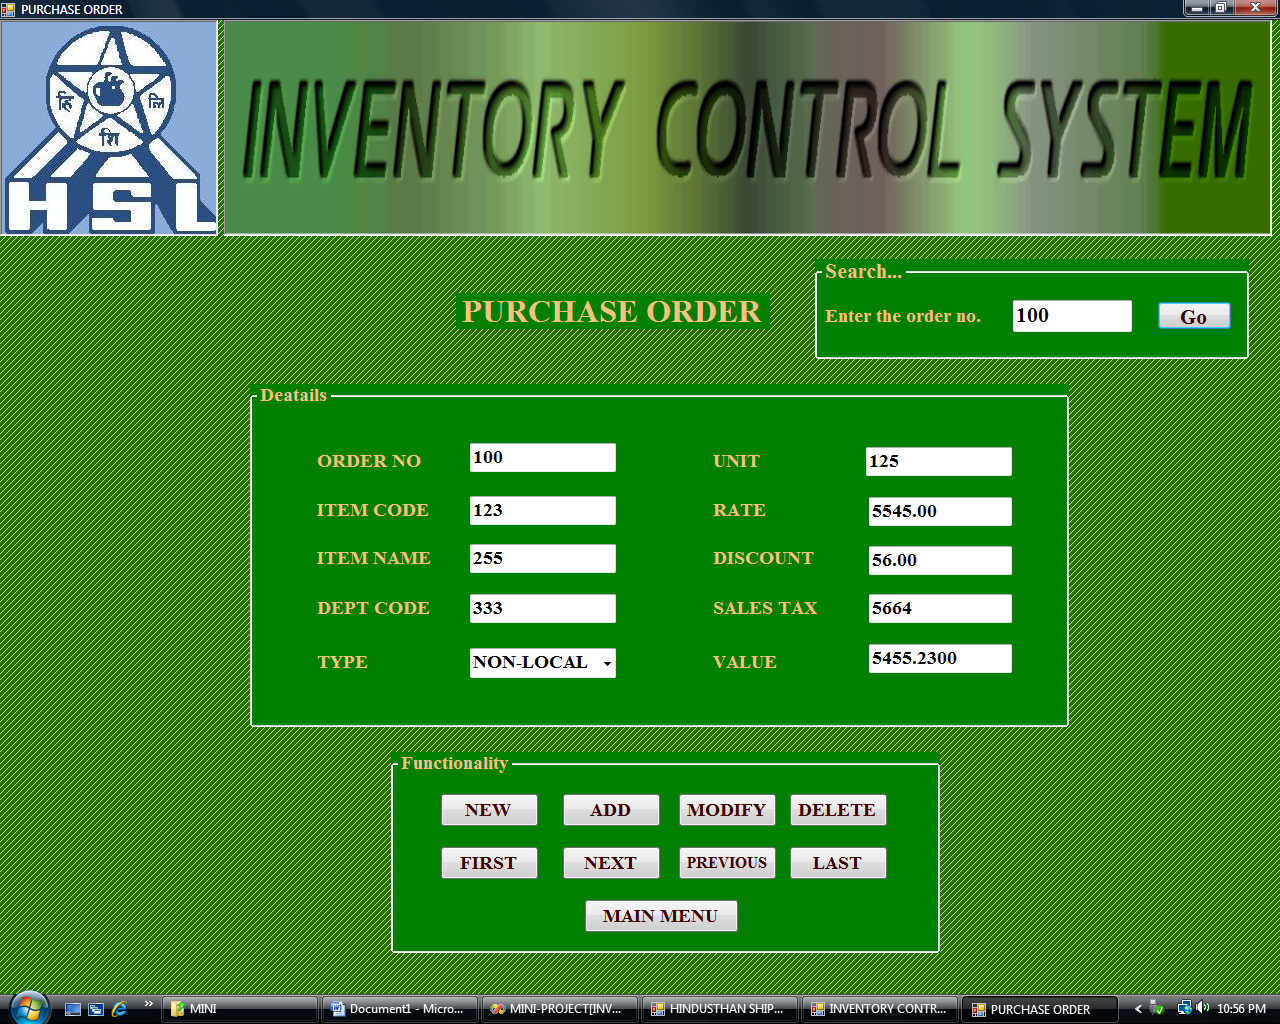
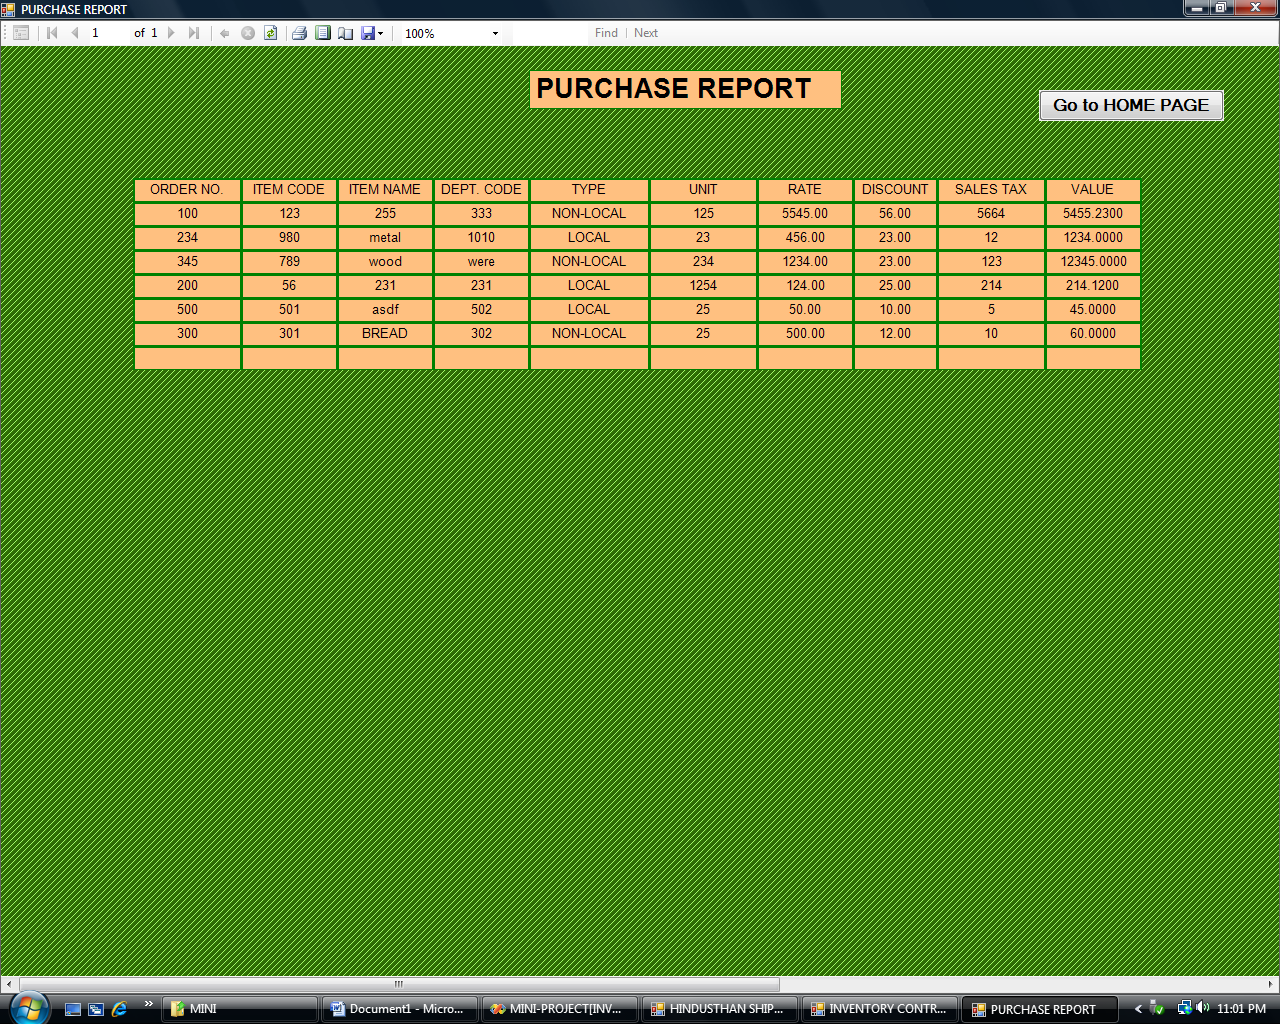
The Purchase module contains the information about the purchase that made by the department. Whenever the department needs any new item, the value of the purchased item is calculated according to the mode of purchase i.e. local, abroad, indigenous. We can make addition of a new item, deletion, modification, etc for this file. It contains the fields such as item code, item desc, units, quality grade, item value.
Inventory control system is a client/server application.
Software requirements Visual Basic.Net front end, MS SQL Server back end.
SYSTEM REQUIREMENT SPECIFICATION
The data processing department is accepting many requests, which comes from different department. Currently the request like updates, stop details, issues, returns are done manually. So they would like to automate it.
We have to first understand this problem and produce a requirement documents based on understanding the problem.
End User: Office Staff
While studying the current system, after speaking with the director, front office staff we found the system as follows.
Whenever a new work comes, the work is divided into different parts and each part is submitted to the respective department. The respective department checks their work and the material needed for their work. If the material is sufficient for them for doing their work to carry out with it otherwise they send a request for Data Processing Department for the issue for the material. The data Processing Department then sends a request to stores department whether the mat is available or not. If the material is available they will issue it otherwise they will place as an order.
If the allocated material is more than sufficient, the respective departments will handover that extra material to Data Processing Department by a note. Then the Data Processing Department will update their respective stores. In automating the whole process we find that the inventory system consists of three main parts.
1. ISSUES:
This process is used to store the issue details of the item which is requested by the respective department.
2. RETURNS:
This process is used to store the return details of the item, which IS the respective department.
3. RECEIPTS:
This process is used to store the receipt details of the item, which is attested by the respective department.
After discussion with the staff the following decisions were taken regarding what the automated systems should do and what new environment will be.
1. The format for each entry should be similar over currently being used.
2. Entries might have errors, so system should be able to check for errors.
3. Information about the items, departments, and work orders should be kept in permanent database.
Requirement Specification Document:
Introduction:
Purpose:
The purpose of this document is to describe the external requirement for the atomization of stock details. The atomization will provide management to accept item details and quality. It also describes the interface for the system.
Scope:
The document is the only one that describes the requirements of the system. It is meant for the use by and will also be the basis for validating the full system. Any change made to the requirements in future will have to go through a formal change approval process. The developer is responsible for asking for classification whenever necessary and will give any alteration without the permission of the client.
Conversion Methods:
Conversion methods are of four types these are parallel systems, direct cut over method, pilot method and phase in method. Each method has some advantages it offers and some problems that it may cause. However some situations force one method to be used over others, even though other methods may be more beneficial. In general, system conversion should be accomplished as quickly as possible. The present module contains the same fields as in the issue module they are as follows card code, item code, department code, work order number, document number, transaction date, rate of the item, quantity of the item to be issued., its value etc.,
Receipts Module:
This module contains the information about the items that are issued and their the details of the department to which the item was sold and the supplier details. This module contains the following fields as card code, item code, department code, order number, document number, transaction date, rate of the item, quantity of the item to be issued, its value, supplier details etc.
Balance Module:
This module contains the information about the balance that is/was present before/after the issue of each item and about the new stock. This module contains the following fields as card code, item code, department code, transaction date, rate of the item, quantity of the item to be issued, its value.
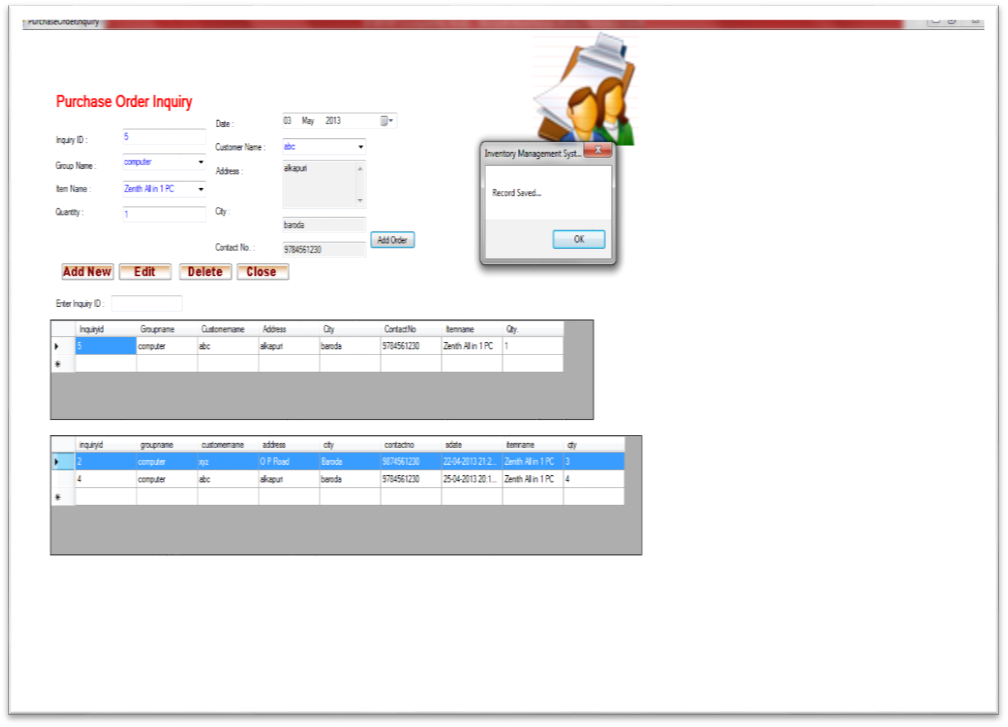
Purchase Order Master:
This module contains the information about the purchases that are made by the department. Whenever the department needs any new item, system is developed using ORACLE 7.3 as backend and VISUAL BASIC 6.0 as front end that helps us to create easier and flexible data entry.
The system automation that has been developed will be installed in the organization in a phased manner. This helps the end user who will be using the system in future to get a feel of the system. This also helps the end user to clarify their doubts and get rid any reservations or inhabitations that they have. The phased manner approach that the organization is implementing makes it possible systematic automated system.
CONCLUSION
After completing the proposed system successfully it is worth to talk about the limitations and advantages of the system.
LIMITATIONS:
This system is capable of fulfilling the current requirements, but it is required to make modification to meet the future requirements. Disk space to increased when information increases.
ADVANTAGES:
As all the screens are self explanatory it is easy to work with the system with a little training for new operator. The system eliminated the problem of the existing system and enhances its capability.


 If a student is already registered with this site then he can directly give his email id and password.
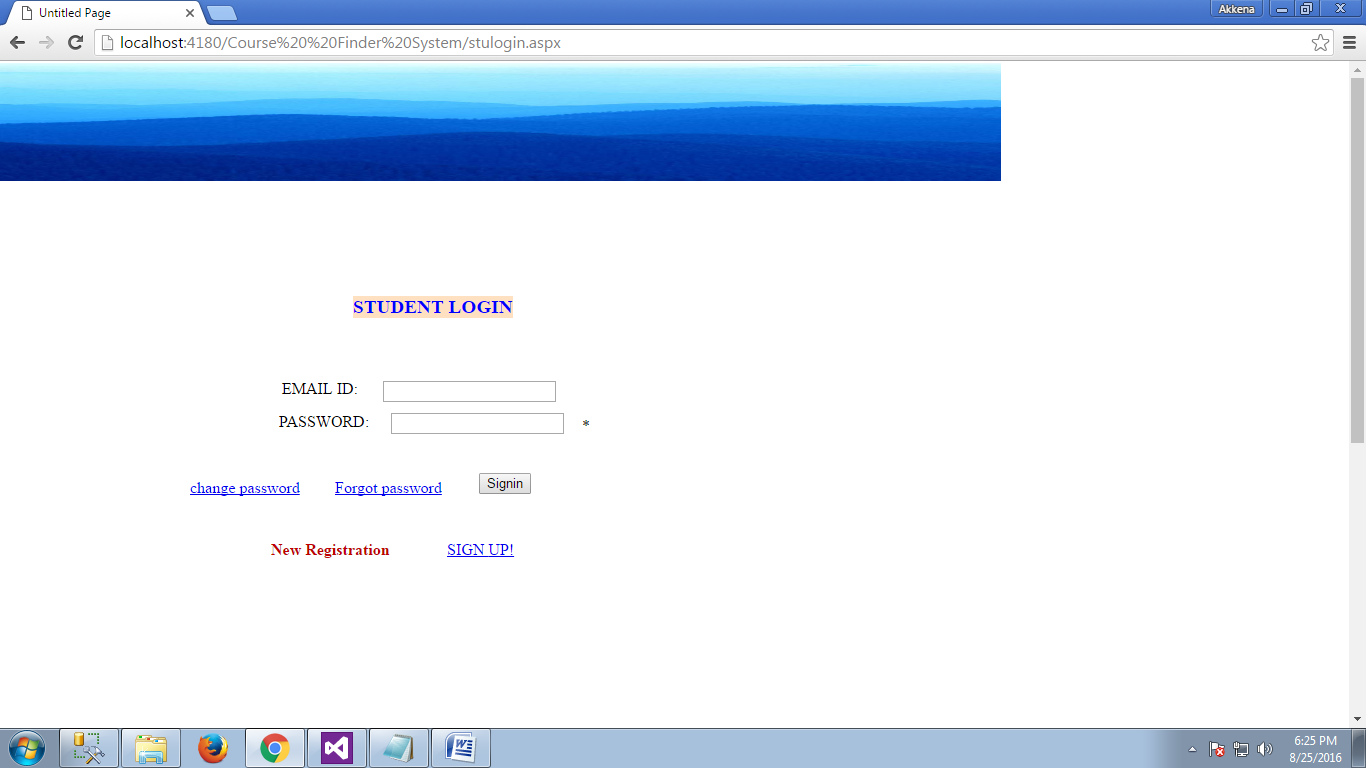
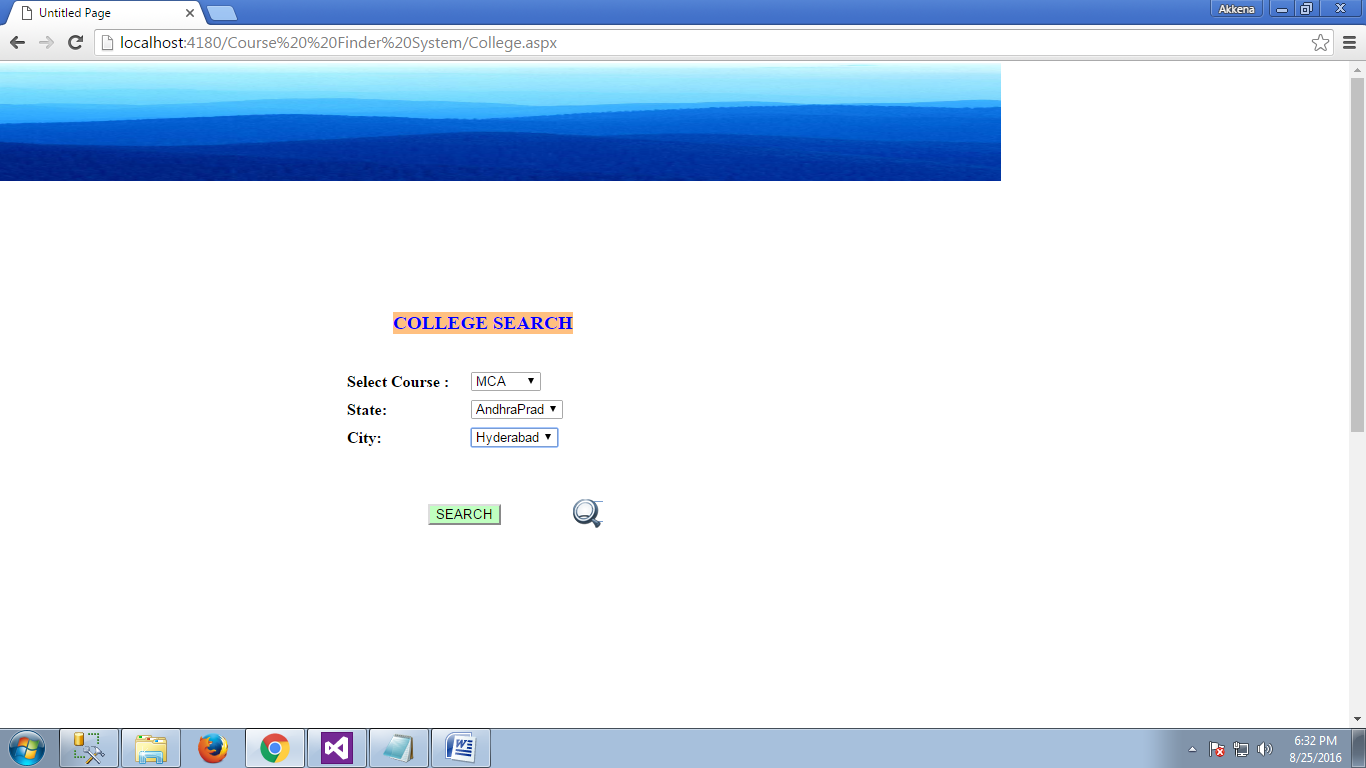 All the requested searches will be received by the database and student will get the result within no time.
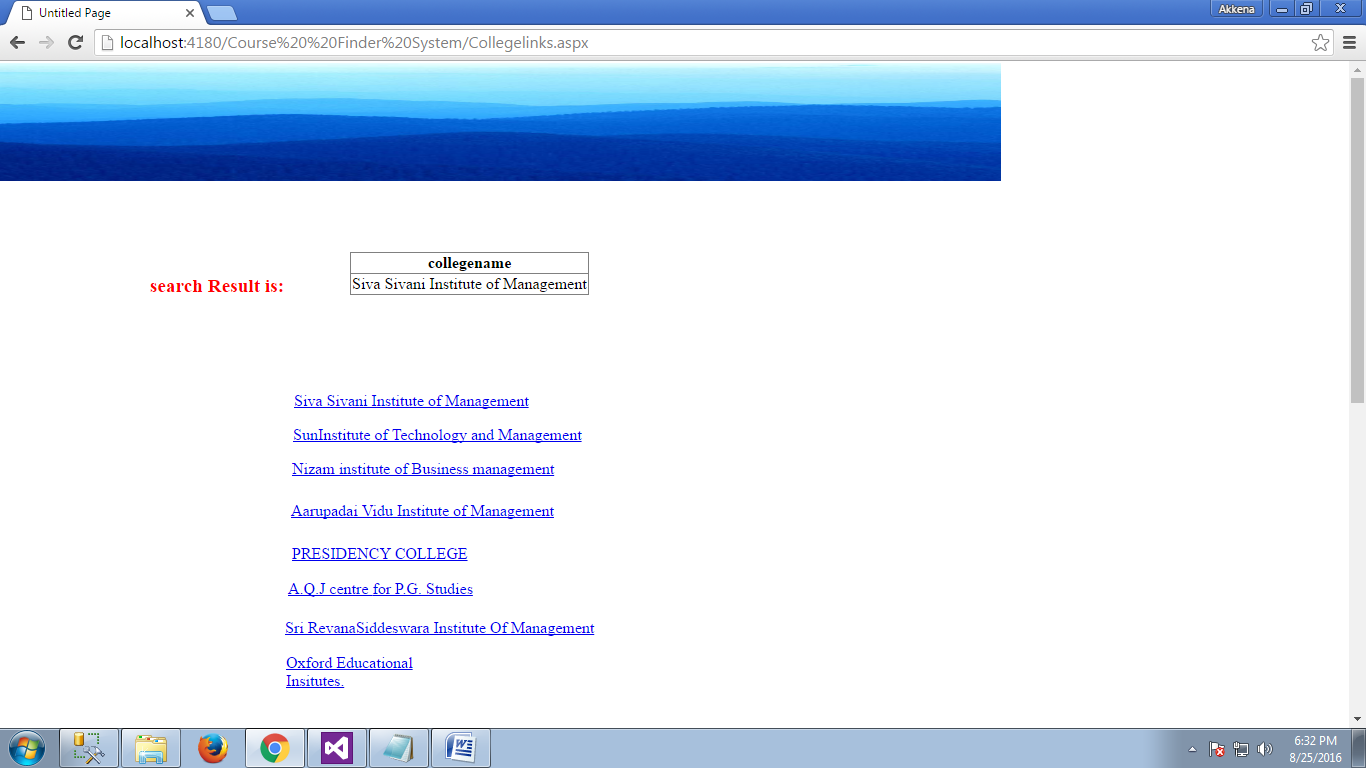
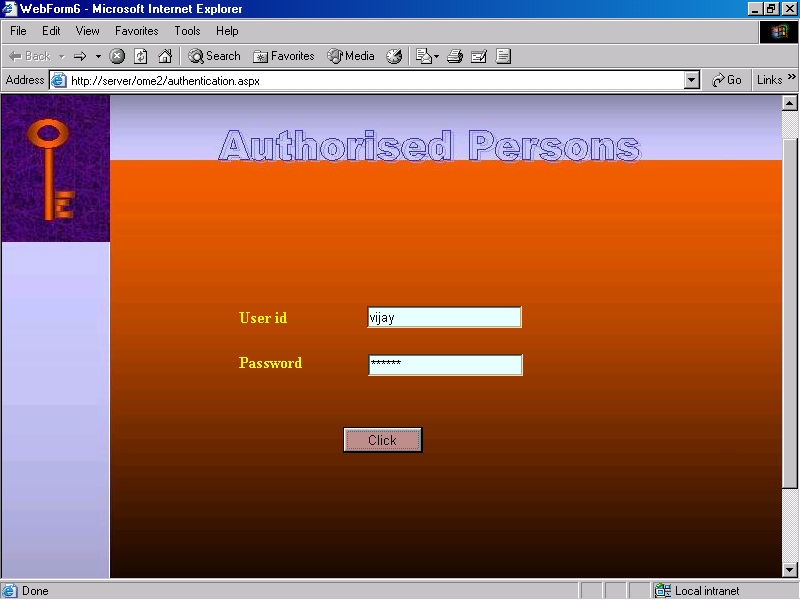
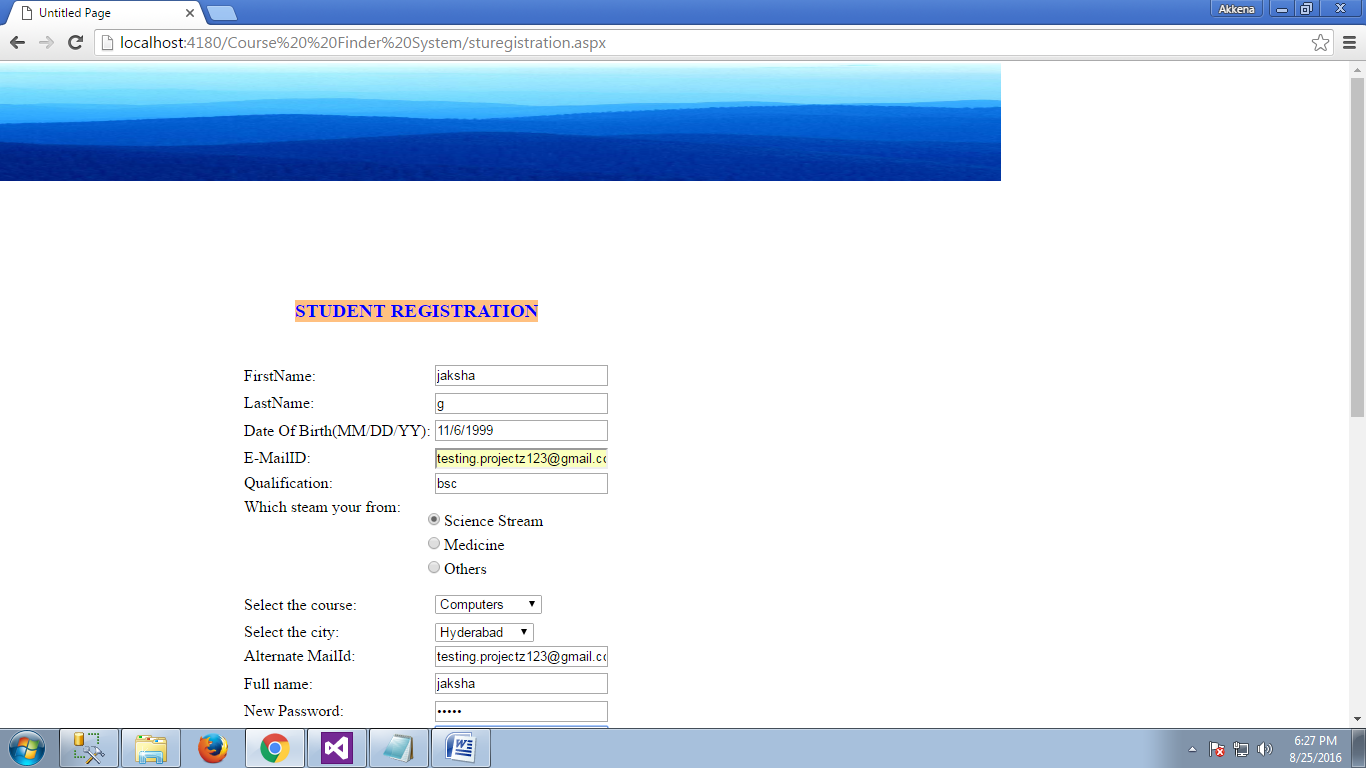
 Students can get logged with the university at the same time. Student need to open the university login page and enter username,user id and password if he is already a member or he needs to get registered first and get access
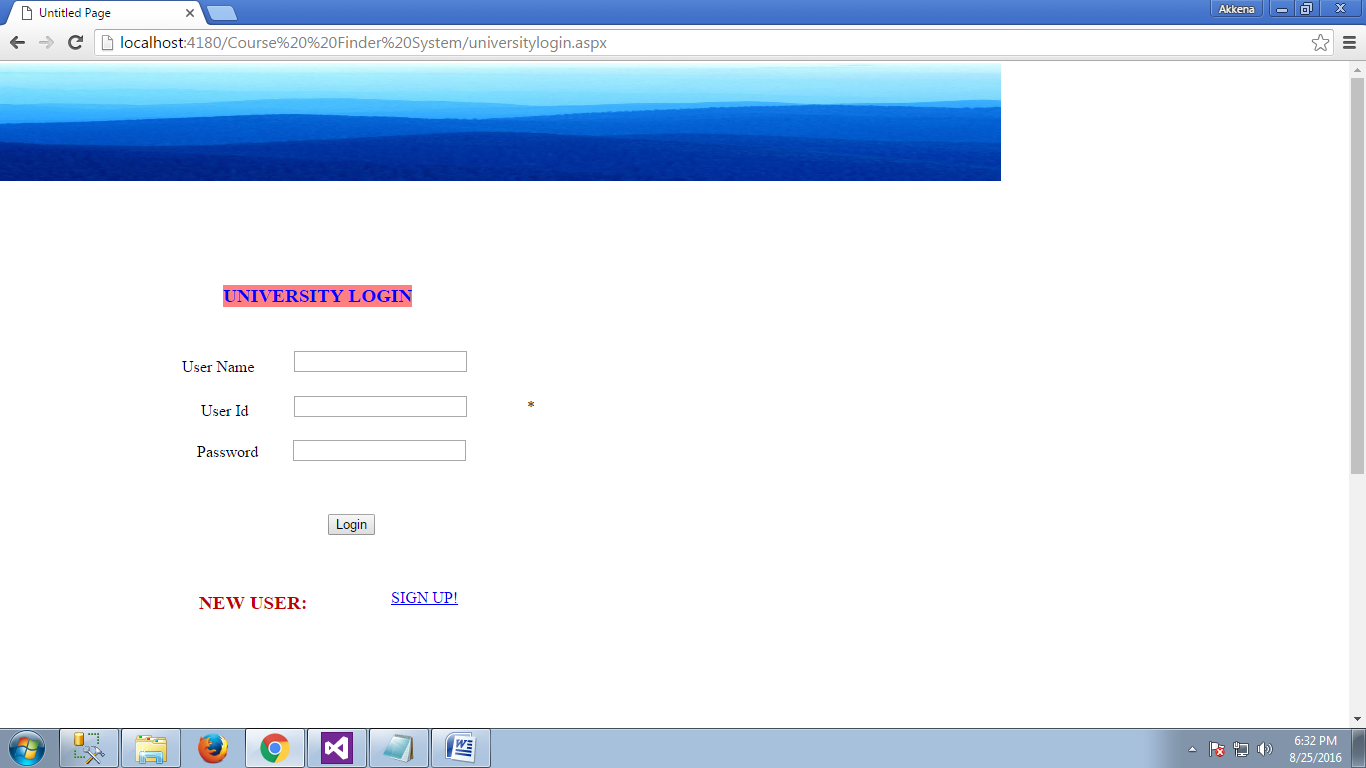
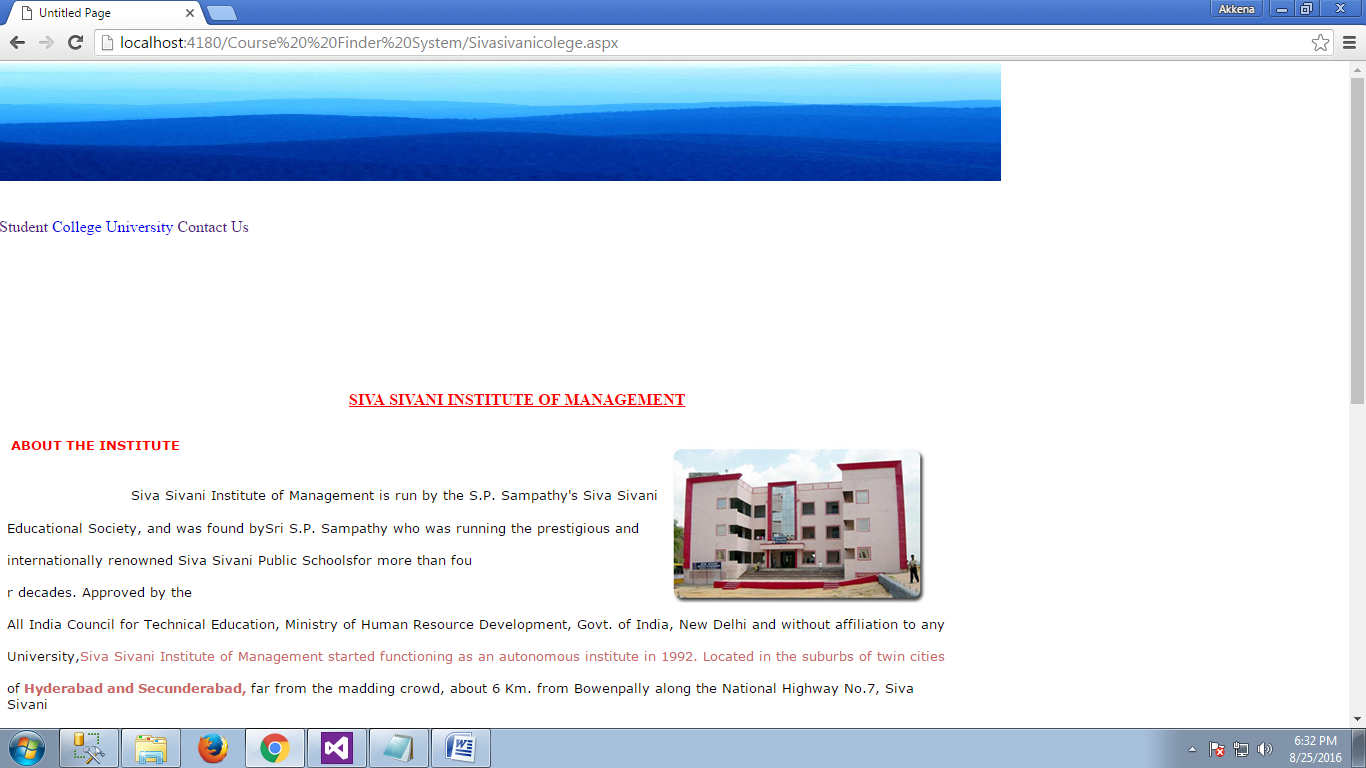
 After getting access to the university site student can select the university and grab the required information
  The final step after getting all the information is to log out from the university site If the login process is done properly then the student will get the message that you have been successfully logged out.