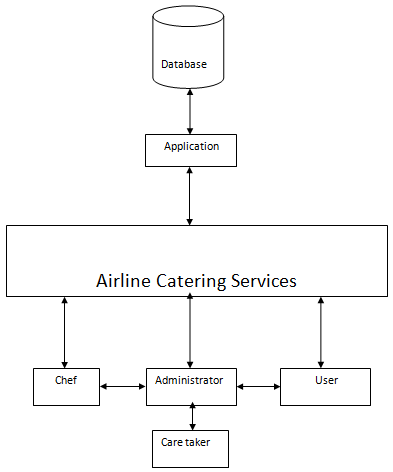
Abstract: “College Visitor Management System” is a process of managing the information of the visitors visiting the College campus. For any organization maintaining the information of the visitor is a very major issue. This system will replace the manual maintenance system and will help the authorities to keep track of the visitors visiting the campus.
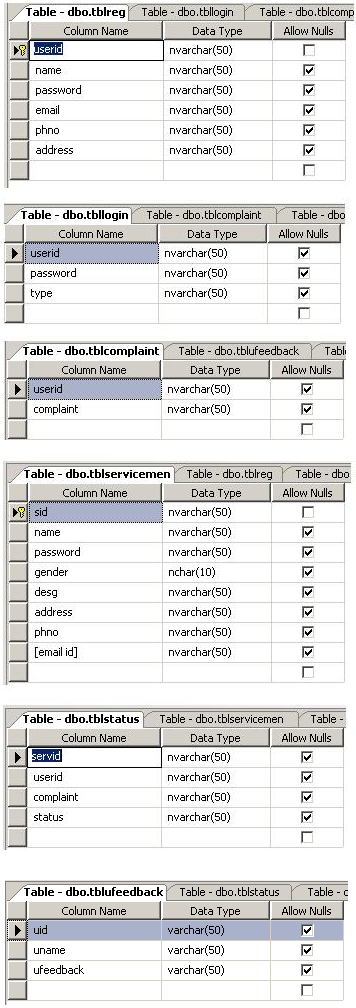
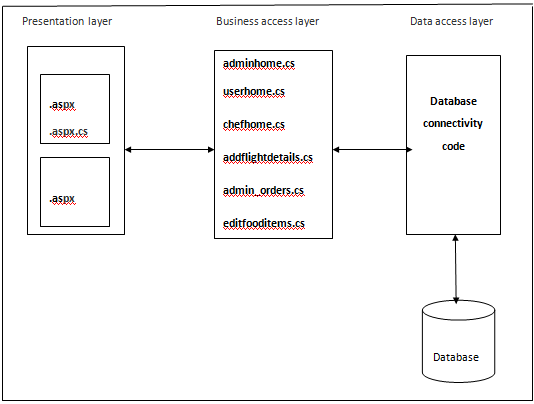
This software is being build with help of ASP.NET. The data of the new visitors visiting the campus will be stored in the database. With this system the visitor’s information can be stored in the database, so that in the future it shall be used for the reference. The data will be stored in the SQL SERVER as the backend. This software will help an organization to do the job effectively and give an all round development of the project.
The major features of the College Visitor Management System are:
- The in and out time of the visitors is stored in the database.
- Name, address and all other information regarding the visitor.
- There will also be provision to retrieve the data from the database for the future references.
- The reason for which the visitor is going to visit the campus.
- When the visitor visits the campus for the first time he/she needs to register. He/she will be provided with an id so that whenever he/she wants to visit next time they can refer through this particular id.
- Appointments of the Visitors with the Faculty will also be stored in the database.
Requirement Analysis
Module:
College Visitor Management System
Overview Statement:
The purpose of this module is to store the information of the visitor’s visiting the campus.
Customer:
Visitor
System Functions
| Ref # |
Function |
Category |
| R 1.1 |
Visitor should be able to add his details. |
Evident |
| R 2.1 |
System should be able to save the new visitor details. |
Hidden |
| R 1.2 |
Visitor should be able to get the appointment from the faculty. |
Evident |
| R 2.2 |
System should be able to save the appointment time & intimate the visitor about the availability of the concerned faculty. |
Hidden |
| R 1.3 |
The security personnel should be able to update the IN time of the visitor. |
Evident |
| R 2.3 |
System should be able to inform the concerned faculty regarding the visitor. |
Hidden |
| R 1.4 |
After the visitor had paid his visit to the concerned faculty, the system should save it. |
Hidden |
| R 2.4 |
System should inform the security post that the visitor has met the faculty/staff. |
Hidden |
| R 1.5 |
The security personnel should enter the OUT time of the visitor. |
Evident |
| R 2.5 |
System should be able to save it. |
Hidden |
System Attributes
| Attribute |
Detail and Boundary Constraint |
| Software |
Microsoft ASP.NET |
| Hardware |
Web Camera, PC with 250 GB hard disk & 4 GB RAM. |
| Network |
Local Area Network |
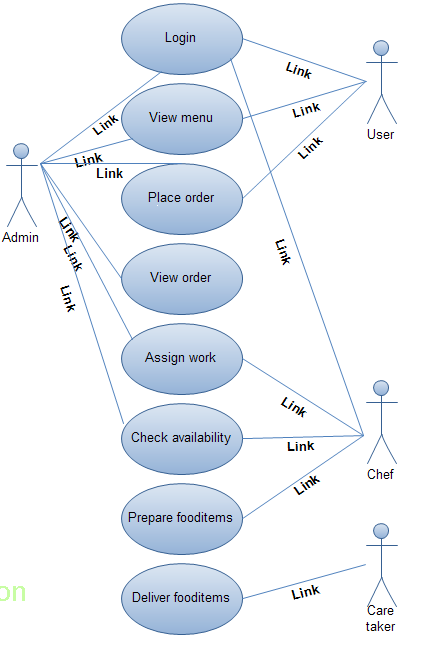
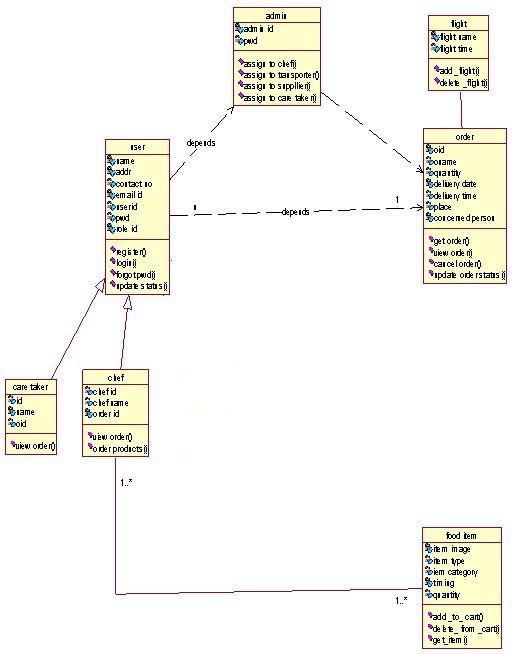
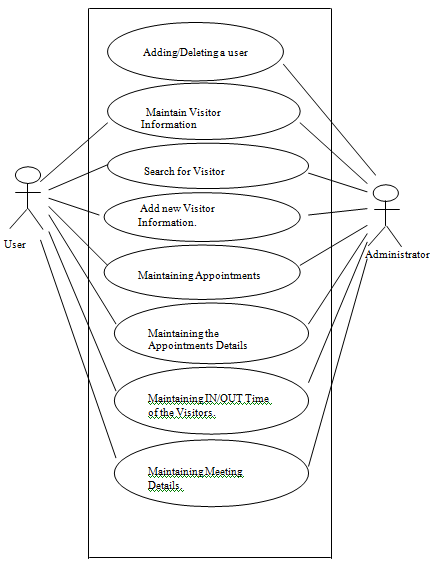
List of Use Cases and Scenarios
Use case # 1 /Maintaining Users
Scenario # 1 / Adding a User.
Scenario # 2 / Deleting a User.
Use case # 2 / Maintaining the Roll
Scenario # 1 / Adding a new Roll.
Use case # 3 / Maintaining Visitor information.
Scenario #1 / Adding a new visitor.
Scenario #2 / Editing the Visitor information.
Scenario #3 / Searching for a Visitor Data.
Use Case # 4 /Maintaining Appointments
Scenario # 1 / checking the appointments of the faculty.
Scenario # 2 / Fixing the Appointment for the visitor.
Use Case # 5 / Maintaining the Appointments details.
Scenario # 1 / Reason of the Appointment.
Scenario # 2 / Faculty/staff member with whom the visitor wants to meet.
Use Case # 6 /Maintaining the meeting details.
Scenario # 1 / IN & OUT time of the visitor, meeting with the faculty/staff.
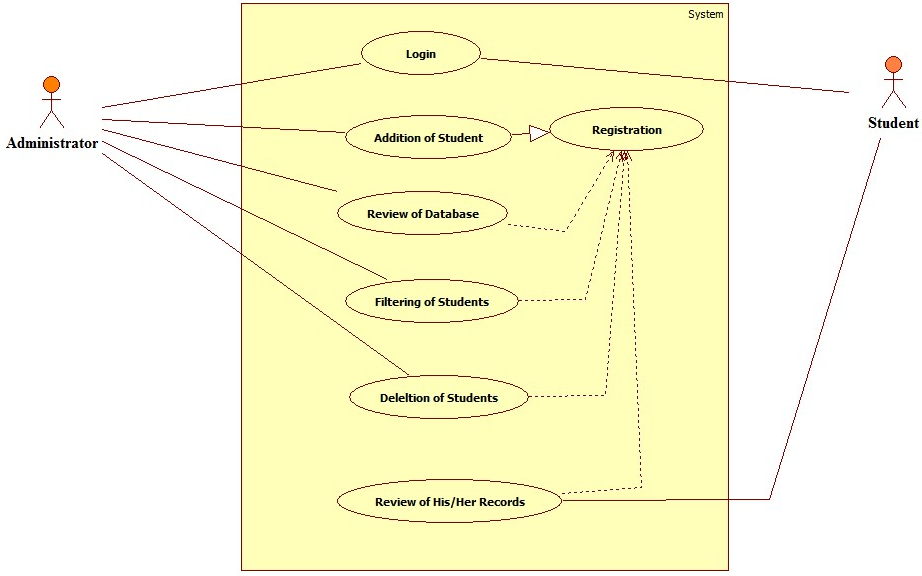
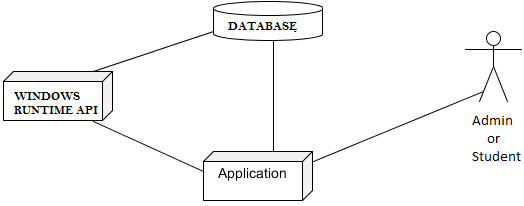
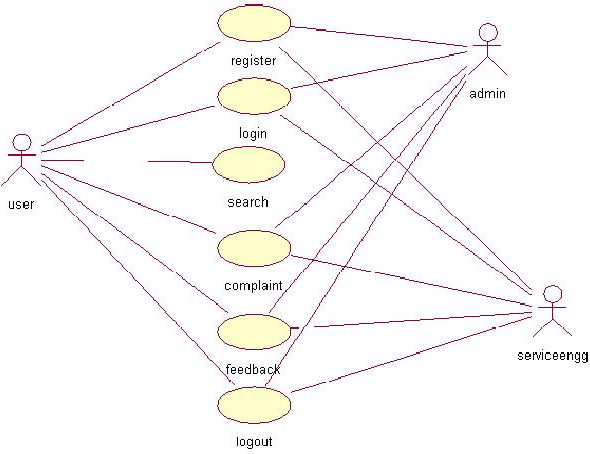
Use Case Diagram:
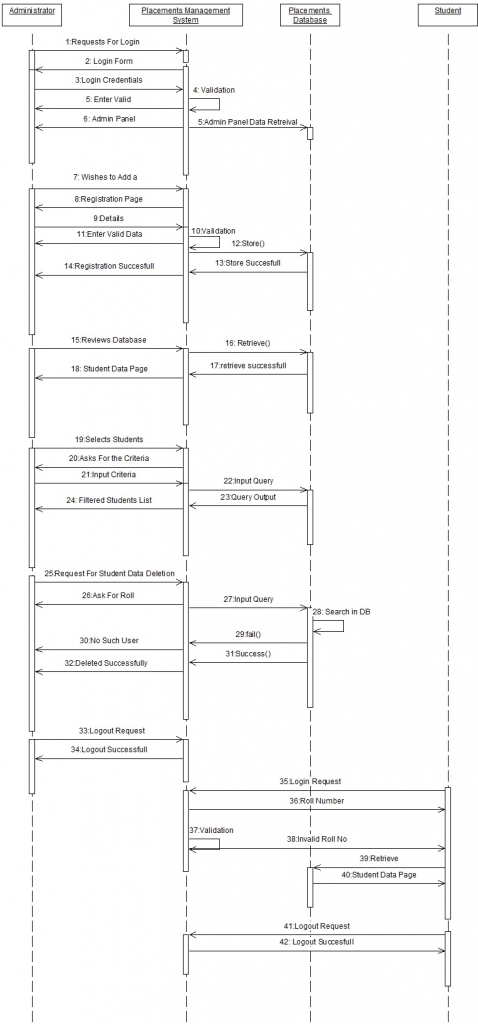
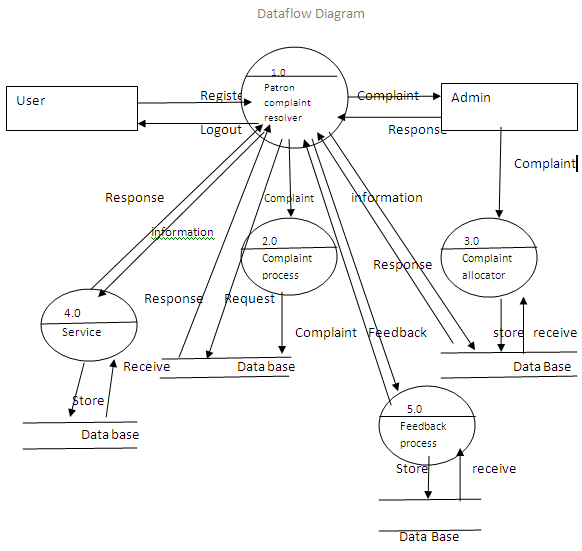
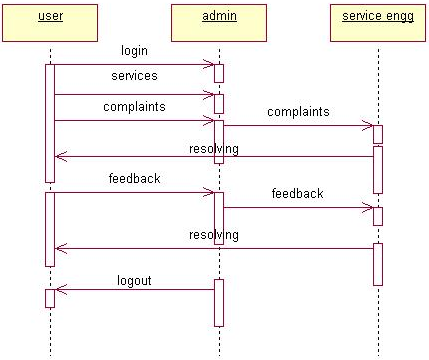
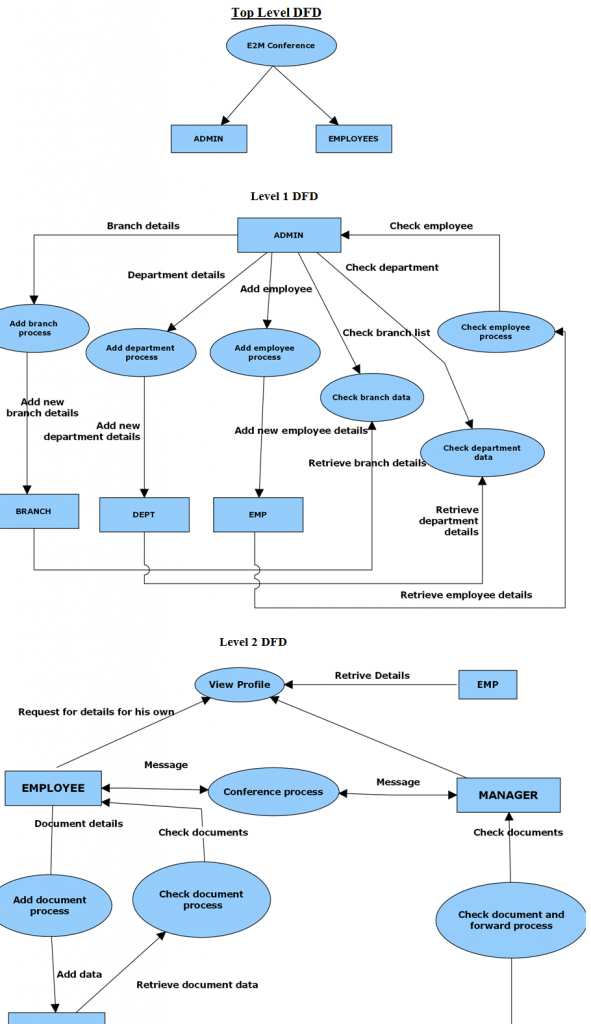
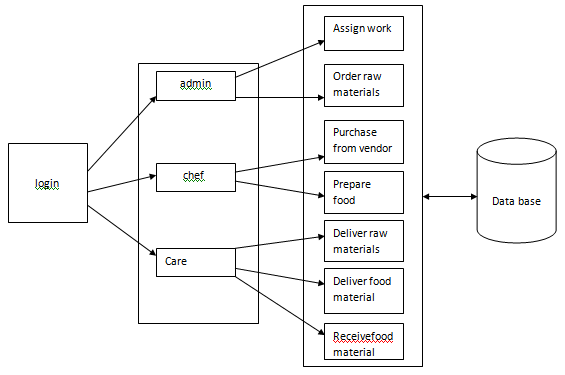
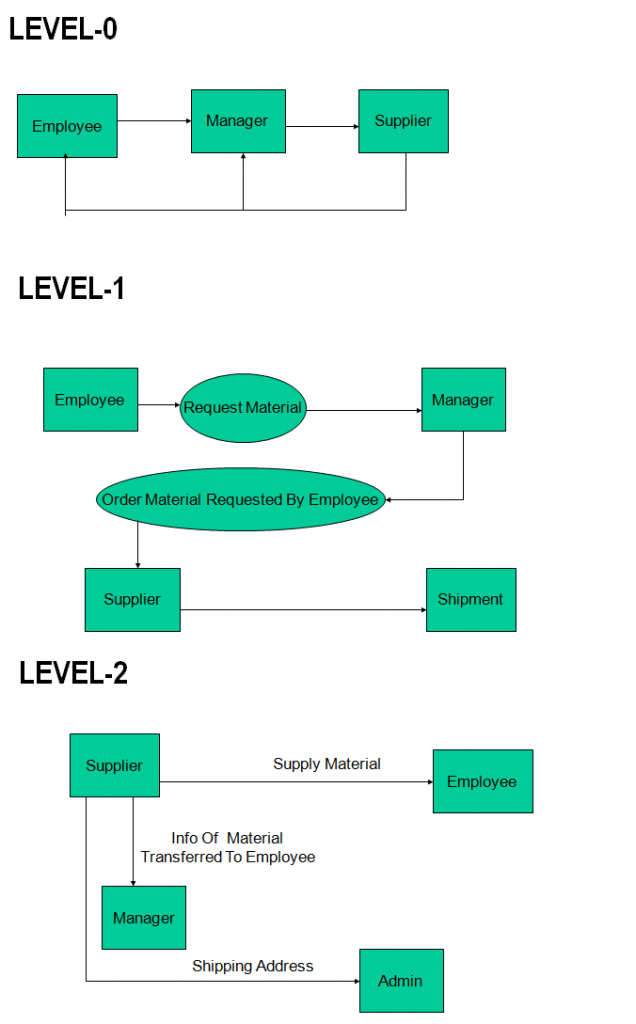
Data Flow Diagram:
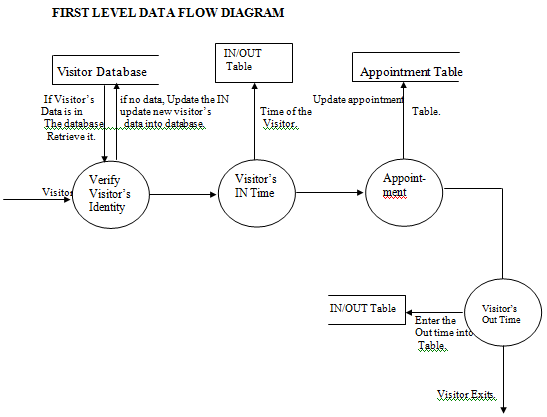
PROJECT FORMS
Form 1 Homepage
• This is the Home Page.
• The user needs to type http://localhost/College/webform2.aspx in order to get this page.
• There is a calendar showing the current date and year.
• There are two hyperlink buttons on this page
o NEW VISITOR
o SEARCH
• On the left hand side of the form there are 3 hyperlinks
o About NIST
o FACULTY
o COURSES OFFERED
Form 3. New Visitor Entry Page
• When the user clicks the NEW VISITOR button from the homepage this page is displayed.
• The user enters the necessary data in this form and clicks the Save button in order to save the data in the database.
• After the data has been saved the user clicks the Home page in order to return to the Homepage.
• If the user wants to refresh the data entered he/she has click the refresh button.
Form 2. Search Page
• This page is obtained on clicking the SEARCH button from the Homepage.
• The user needs to select anyone of the search criteria.
Form 2.1 Search form where the search criterion is Visitor ID.
• The user enters the visitor id and clicks the search button.
• The entire detail of the visitor is displayed in the data grid.
Form 2.2 Search Form where the search criterion is name.
• The user enters the first name of the visitor and clicks the search button.
• The entire detail of the visitor is being displayed in the data grid.
Form 2.3 Search Form where the search criterion is Place
• The user enters the place and clicks the search button.
• The entire detail of the visitor is being displayed in the data grid.
Form 2.4 Search Form where search criterion is Date.
• The user enters the date in the mm/dd/yyyy format or selects the date from the calendar as shown in the above form.
• The entire detail of the visitor is being displayed in the data grid.
Form 3 Visitor Detail Page.
• When the user clicks the SELECT hyperlink from the data grid, this page is being displayed.
• The user clicks the Appointment button to move to the Appointment page.
• The user may click the Home button to return back to the Homepage.
Form 4.1 Appointment Form.
• This page is displayed when the user clicks the appointment button from the visitor details form or enters the visitor id in the search page and clicks the appointment button in the search button itself.
• The user then clicks the show calendar button to display the calendar.
Form 4.2 Appointment Page showing the calendar.
• The user selects a particular date from the calendar, which is being displayed in the textbox (mm/dd/yyyy format).
• Then the user selects the faculty with whom the appointment is to be taken.
• The image of the faculty is being displayed in the faculty/staff image box.
• Then the user mentions the reason for appointment and selects the timing.
• The user then clicks the save button to display the batch.
Form 5. Faculty Information Page.
• The user may select any of the hyperlink in order to display the page showing the information regarding the concerned faculty.


