In this Section, we will discuss in detail how the website will act differently for each role assumed.
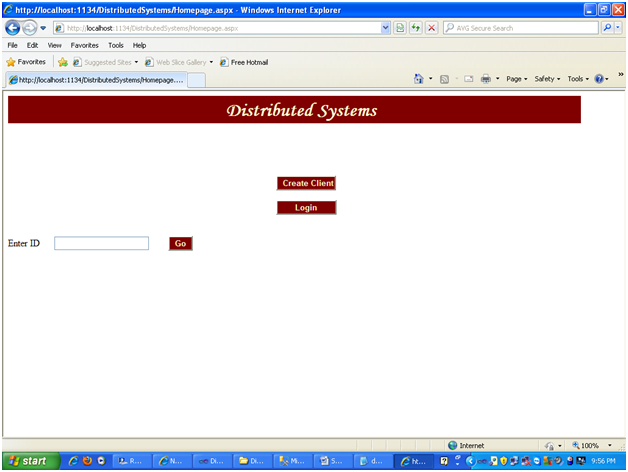
The Home page of this Distribution System is shown in the Fig which facilitates two options. One to create a new client and another to login into the Application (for the existing clients, servers, Master server).When the user clicks on the Create Client button, he can create a client which will be mapped under a server.When the user clicks on the Login button, he should provide the User ID and then can login into the website and perform required operations given to him.
Showing the home page of the Application
Client creation:
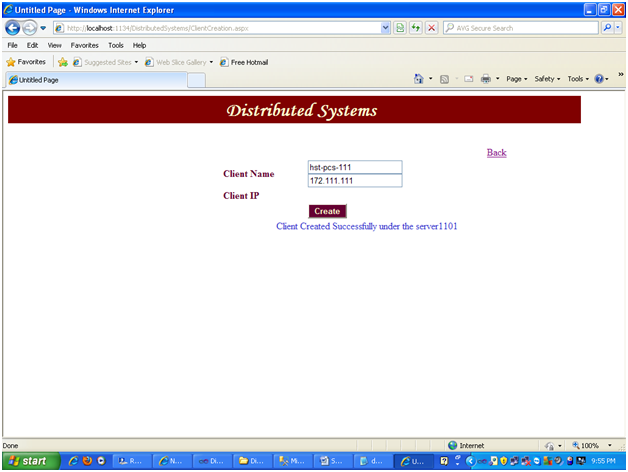
When the user clicks on the client creation button, he will be redirected to the client creation page as shown in the Fig 4.1(a)
Client Creation Page
Once all the required data was entered, on clicking login button, the output will be as shown in figure 4.1(a).A message will be displayed as “Client created successfully under server —”
Login Page:
When the user clicks on the Login button, a textbox will be made visible to him ,in which he should enter his own user ID and enter into the application. The screenshot is as shown in
When user clicks on login button
Login with the respective ID’s to login into the application as a privileged user. (e.g.: Master page ID=1; client ID=111; server ID=1010).Click on Go button.
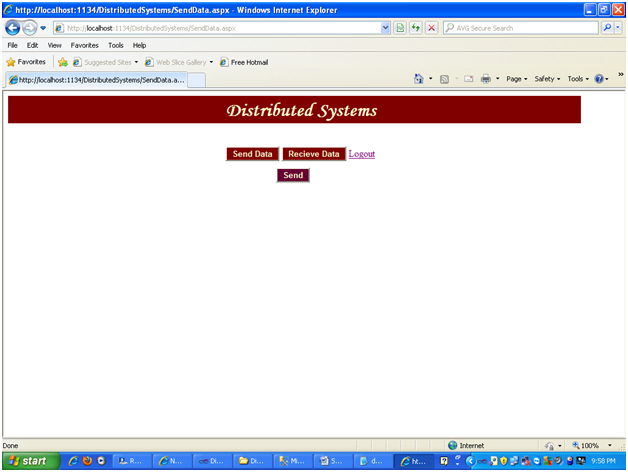
Send And Receive Data (Server/Client): When the user logs in as a client or server the screen will be as shown as in figure 4.2 where the client/server can send or receive the date.
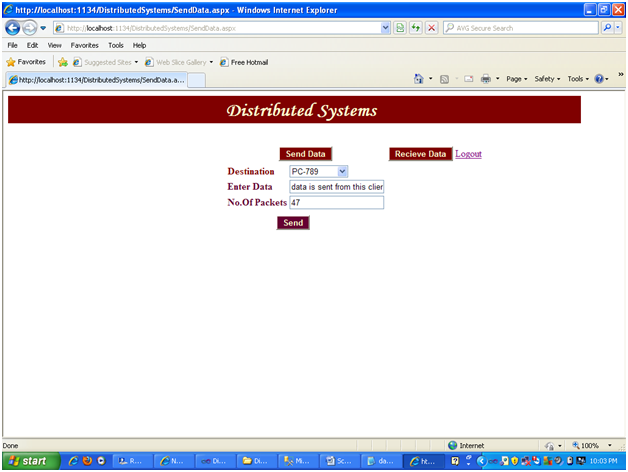
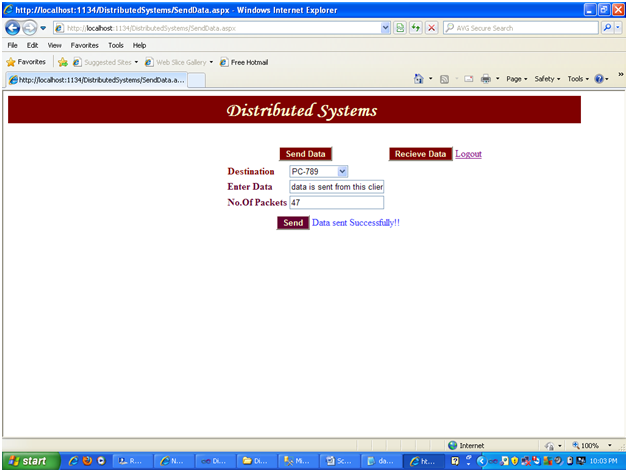
If the user clicks on the Send data button the screen shot is as shown in fig 4.3(a) where he can send the date to the other clients or its own server.
Sending the data to a destination.
Click on the send button to send the entered data. Once sent a message will be displayed. A message will be displayed to the Client/server if the message was sent successfully as shown in.
Message showing that the Data was sent successfully
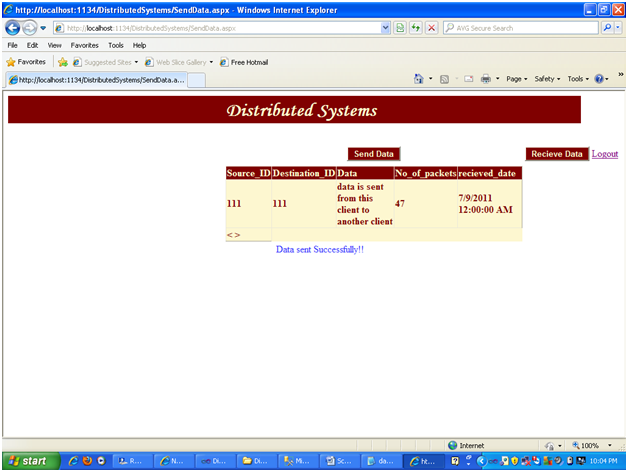
If the user clicks on the Receive data then he can view all the data received by this client as shown in the Fig 4.3(c)
Showing the received data
For Master server Login:
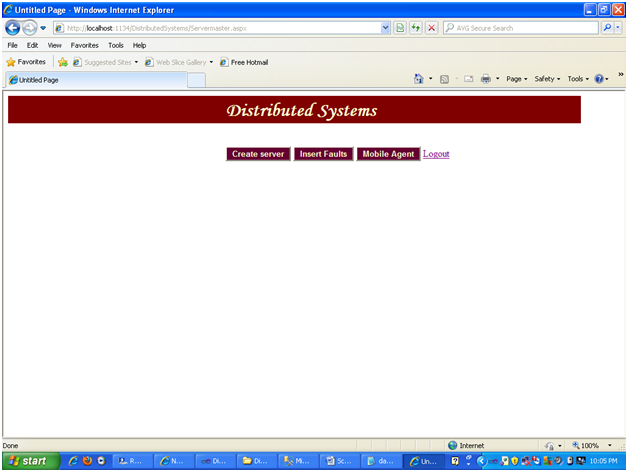
When the Login ID given is the master server ID in the Login page then the screen will appear as shown in the fig:4.4(a).From this screen the Master server can perform any action such as Server creation, Insert faults, view mobile status.
Main Page for the Master server login
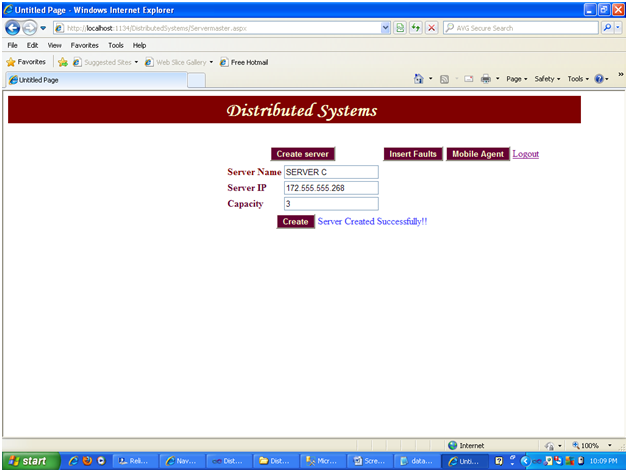
Create server: When the create server is clicked the screen will appear as shown below. Once all the data is entered, click on the create button to create a new server.When the server was created successfully then a message will be displayed as shown in the Fig: 4.4.1(a).
Showing the Message when server was created.
Insert Faults:
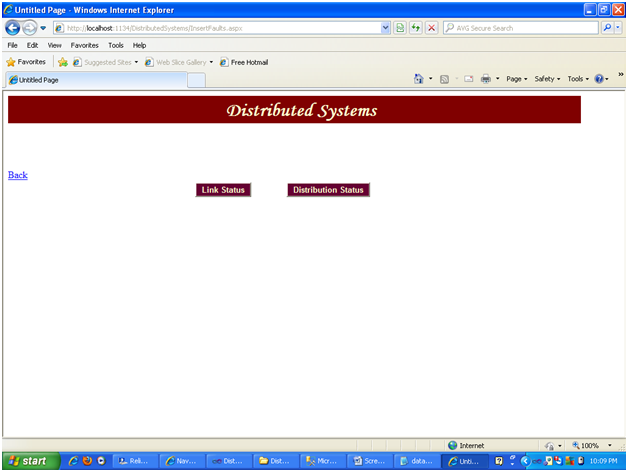
When the master server clicks on the Insert Faults button is the screen shot will be shown as in Fig: 4.4.2
Faults Insertion Screen
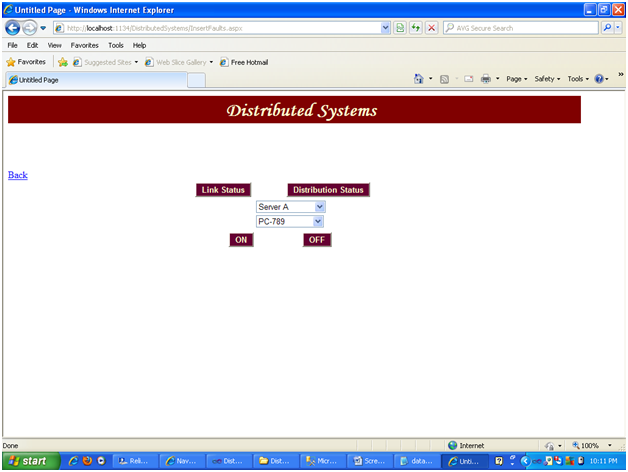
Once the link status button is clicked then the screen shot is as shown in figure 4.2.2(a).
Linked Server page
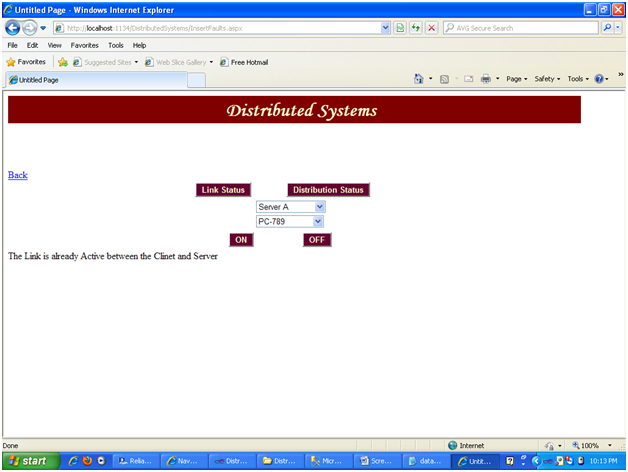
Select the server and the client between whom the connection is to be made ON or OFF. If the Link between the selected server and selected client is already off then a message will be given mentioning the link is already OFF. Same case when we are trying to ON the connections, which are already ON. The screenshot is shown in figure
Link Status Results Page.
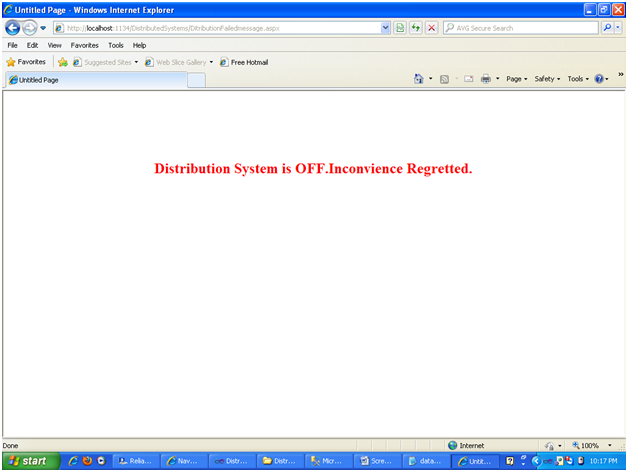
Once the Distribution Status button is clicked then there will be ON OFF options, which can be used to ON or OFF the distributed network. When the distribution system is off then no operations can be performed. Access is blocked as shown in the below screen when they try to login or create the client from home page as shown in fig
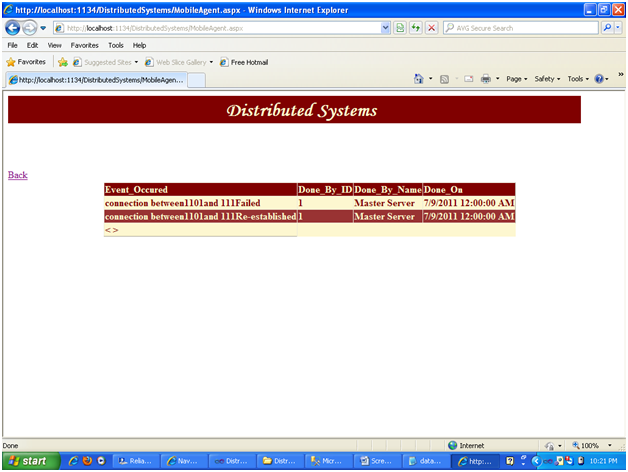
Mobile Status: When the Master server clicks on the Mobile status button, he can see the different events happened in the Network as shown in the.
When the distribution system Link is Made In-active by the Master server the Access for all the users will be blocked as shown in the fig 4.5(b)
Access blocked Screen when the users try to login ( Distribution Link is OFF)
This can be again revoked by the master admin login ID in the same procedure as he has done to OFF it.
Paper Submitted & Written by Sathish Nagarajan


