database design:
- Create a DATABASE: SCHOOL
TABLES
Create the following three tables with the same names and data types as provided below:
CourseMaster
|
Column Name
|
Data Type
|
Remarks
|
|
CID
|
Integer
|
Primary Key
|
|
course name
|
Varchar(40)
|
NOT NULL
|
|
Category
|
Char(1)
|
NULL, Basic/Medium/Advanced
|
|
Fee
|
Small money
|
NOT NULL; Fee can’t be negative
|
StudentMaster
|
Column Name
|
Data Type
|
Remarks
|
|
SID
|
TinyInt
|
Primary Key
|
|
StudentName
|
Varchar(40)
|
NOT NULL
|
|
Origin
|
Char(1)
|
NOT NULL, Local/Foreign
|
|
Type
|
Char(1)
|
NOT NULL, Undergraduate/Graduate
|
EnrollmentMaster
|
Column Name
|
Data Type
|
Remarks
|
|
CID
|
Integer
|
NOT NULL Foreign Key
|
|
SID
|
Tinyint
|
NOT NULL Foreign Key
|
|
DOE
|
DateTime
|
NOT NULL
|
|
FWF (Fee Waiver Flag)
|
Bit
|
NOT NULL
|
|
Grade
|
Char(1)
|
O/A/B/C
|
Using the above table layouts as schema, write T-SQL Statements for the following requirements:
- List the course-wise total no. of Students enrolled. Provide the information only for students of foreign origin and only if the total exceeds 10.
- List the names of the Students who have not enrolled in the Java course.
- List the name of the advanced course where the enrollment by foreign students is the highest.
- List the names of the students who have enrolled for at least one basic course in the current month.
- List the names of the Undergraduate, local students who have got a “C” grade in any basic course.
- List the names of the courses for which no student has enrolled in the month of May 2020.
- List name, Number of Enrollments, and Popularity for all Courses. Popularity has to be displayed as “High” if the number of enrollments is higher than 50, “Medium” if greater than or equal to 20 and less than 50, and “Low” if the no. Is less than 20.
- List the most recent enrollment details with information on Student Name, Course name, and age of enrollment in days.
- List the names of the Local students who have enrolled for exactly 3 basic courses.
- List the names of the Courses enrolled by all (every) students.
- For those enrollments for which fees have been waived, provide the names of students who have got ‘O’’ grades.
- List the names of the foreign, undergraduate students who have got a grade of ‘C’ in any basic course.
- List the course name and total no. of enrollments in the current month.
stored procedure
Using the above table layouts as schema, write a stored procedure for the following specifications:
Input Parameters:
Date From (Mandatory), Date To (optional, if not specified, take the current date), &Student ID (Mandatory)
Requirements:
Course-wise,enrollment-wise in ascending order of course name to be printed. If no enrollment exists for a given course for the period specified, print the course name and the remarks ‘No enrollment for this period’
——————————————————————————————
Enrollment Details of<Student Name > from <FromDate> To <ToDate>
Origin : Type:
SL.No Course Name Date of Enrollment Fee Waiver? Grade
(Yes/No)
… … …… …… ……
… … …… …… ……
Total No. of Courses Enrolled:
The Development of the above-Stored Procedure below using SQL Server:
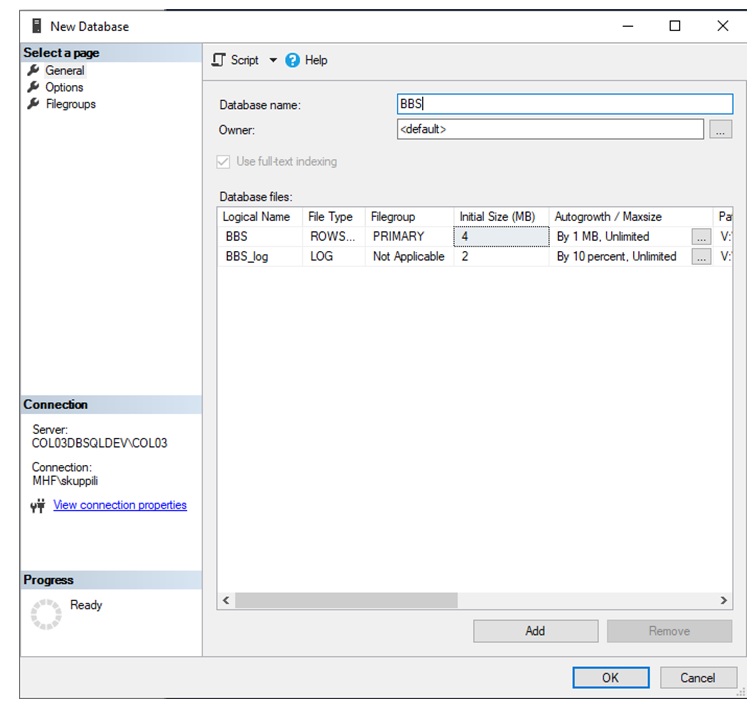
–Create the database
create database School_DB
go
–To exchange the context
USE School_DB
go
–create CourseMaster table
create table CourseMaster
( CID int Primary Key,
CourseName varchar(40) NOT NULL,
Category char(1) NULL CHECK(Category='B' or Category='M' or Category='A'),
Fee smallmoney NOT NULL CHECK(Fee>0)
)
go
sp_help 'CourseMaster'
go
–To view the table
select * from CourseMaster
go
insert into CourseMaster values(1,'SQL Server','M',10000)
insert into CourseMaster values(2,'MSBI','A',20000)
insert into CourseMaster values(3,'Python','B',5000)
insert into CourseMaster values(4,'Data Science using Python','M',90000)
insert into CourseMaster values(5,'C#.NET','B',15000)
insert into CourseMaster values(6,'Java','M',15000)
insert into CourseMaster values(7,'Power BI','A',30000)
insert into CourseMaster values(8,'Oracle','A',30000)
insert into CourseMaster values(9,'MySQL','B',15000)
insert into CourseMaster values(10,'Cobol','B',16000)
insert into CourseMaster values(11,'Cognos','M',40000)
GO
–Create Student table
create table StudentMaster
(
SID TinyInt Primary key,
StudName varchar(40) NOT NULL,
Origin char(1) NOT NULL CHECK(Origin='L' OR Origin='F'),
Type char(1) NOT NULL CHECK(Type='U' OR Type='G')
)
GO
–Insert the values in StudentMaster table
insert into StudentMaster values(100,'Arman','L','U')
insert into StudentMaster values(101,'Jhon','L','G')
insert into StudentMaster values(103,'David','F','G')
insert into StudentMaster values(104,'Rosy','L','U')
insert into StudentMaster values(105,'Mike','F','G')
insert into StudentMaster values(106,'Jessica','L','U')
insert into StudentMaster values(107,'Abhi','L','G')
insert into StudentMaster values(108,'Srinu','L','U')
insert into StudentMaster values(109,'Venkat','F','G')
insert into StudentMaster values(110,'Ram','L','U')
insert into StudentMaster values(111,'Khan','F','G')
insert into StudentMaster values(112,'Laya','F','U')
insert into StudentMaster values(113,'Naresh','F','G')
insert into StudentMaster values(114,'Naveen','F','G')
insert into StudentMaster values(115,'Rahman','F','U')
insert into StudentMaster values(116,'Abosode','F','G')
insert into StudentMaster values(117,'Manikanta','F','G')
insert into StudentMaster values(118,'Lalitha','F','U')
go
–create EnrollMaster
create table EnrollMaster
(
CID INT NOT NULL FOREIGN KEY REFERENCES CourseMaster(CID),
SID TinyInt NOT NULL FOREIGN KEY REFERENCES StudentMaster(SID),
DOE DateTime NOT NULL,
FWF Bit NOT NULL,
Grade char(1) NULL CHECK(Grade='O' OR Grade='A' OR Grade='B' OR Grade='C')
)
1. List the course wise total no. of Students enrolled. Provide the information only for students of foreign origin and only if the total exceeds 10.
2. List the names of the Students who have not enrolled for Java course.
3. List the name of the advanced course where the enrollment by foreign students is the highest.
4. List the names of the students who have enrolled for at least one basic course in the current month.
5. List the names of the Undergraduate, local students who have got a “C” grade in any basic course.
6. List the names of the courses for which no student has enrolled in the month of May 2020.
7. List name, Number of Enrollments and Popularity for all Courses. Popularity has to be displayed as “High” if number of enrollments is higher than 50, “Medium” if greater than or equal to 20 and less than 50, and “Low” if the no. Is less than 20.
8. List the most recent enrollment details with information on Student Name, Course name and age of enrollment in days.
9. List the names of the Local students who have enrolled for exactly 3 basic courses.
10. List the names of the Courses enrolled by all (every) students.
–11. For those enrollments for which fee have been waived, provide the names of students who have got ‘O’ grade.
select StuName,grade
from StudentMaster SM
inner join EnrollMaster EM on SM.sid=EM.sid
where EM.Grade='O' and FWF = 1
–12. List the names of the foreign, undergraduate students who have got grade ‘C’ in any basic course.
select StudName,Origin,Type,Grade,Category
from CourseMaster as CM
inner join EnrollMaster as EM ON CM.CID=EM.CID
inner join StudentMaster as SM ON SM.SID=EM.SID
where SM.Origin='F' and SM.Type='U' and EM.Grade='C' and
CM.Category='B'
–13. List the course name, total no. of enrollments in the current month.
select CourseName,count(*) as Total_No_of_Enroll
from CourseMaster as cm
inner join EnrollMaster as em on cm.cid=em.cid
where datediff(mm,DOE,getdate())=0
group by cm.CourseName