Education Loan Management System .Net Project

Abstract: Education Loan Management System is an application which gives information of various types of loans for students. This application makes the progress of a student easy in providing the right way of information about education loan. Education has been the central human resource development and empowerment throughout the world. Both national and state level policies are framed to ensure the basic need of the population.

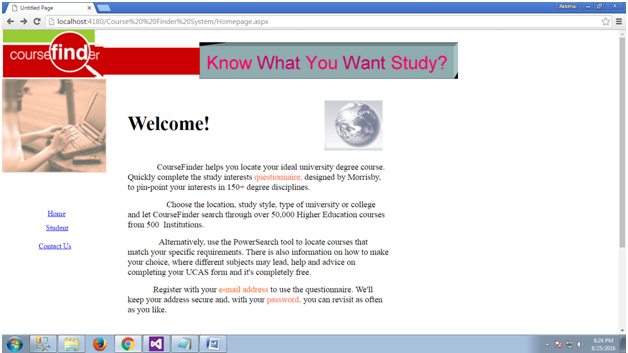
This project provides the information about various details of education loans which are allocated for students. This project gathers all the information of the loans. This education loan provides a website to the users. Various modules like home, about us, student , bank details, contact us and logout are provided to the user in this site. In the home page user can know about the education loan system and the details about  applying the loan.

Education Loan Management System 01

In the education loan system,the about us page provides the basic information about applying loan online and details about various banks Education Loan Management System 02

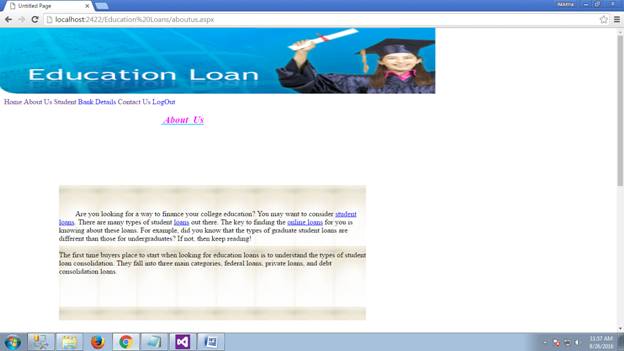
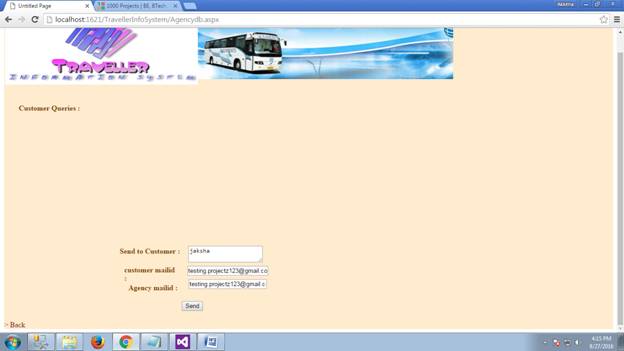
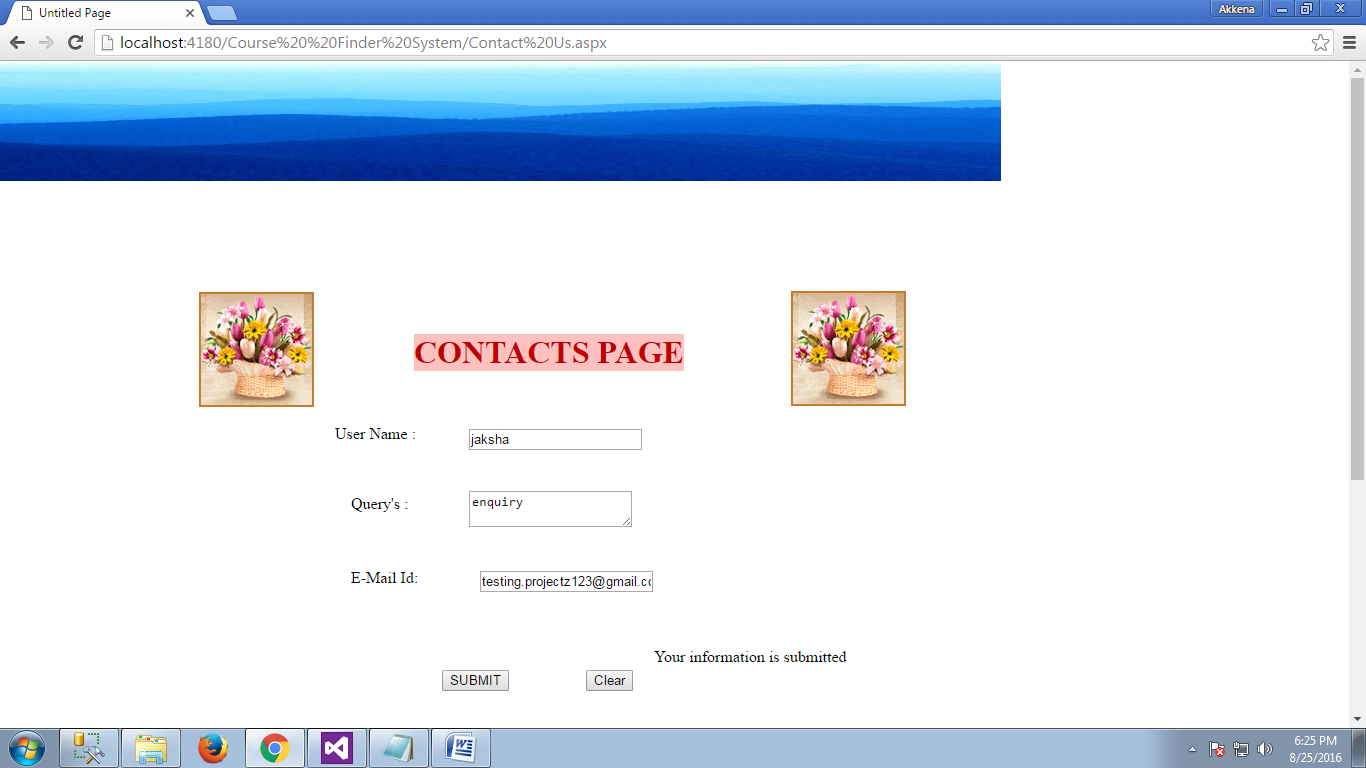
Contact us page provides the details of the management by which the user can contact them for any queries like address, mobile number and email id Education Loan Management System 03

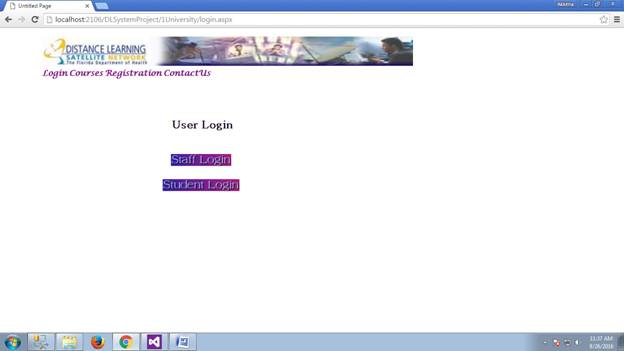
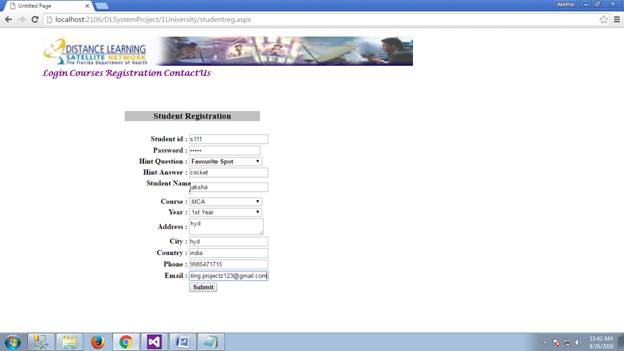
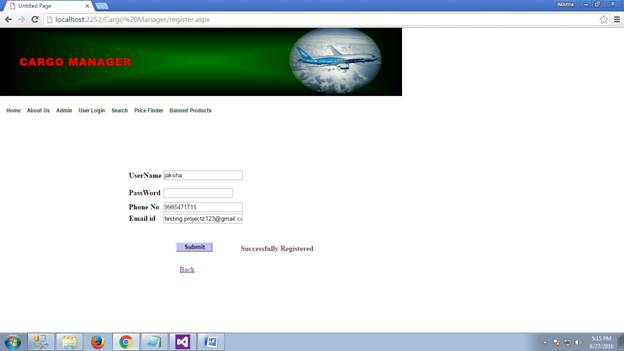
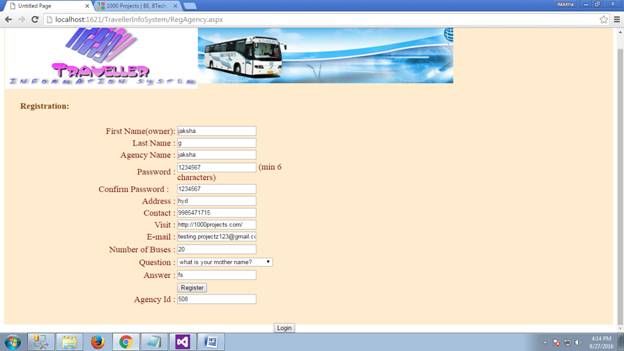
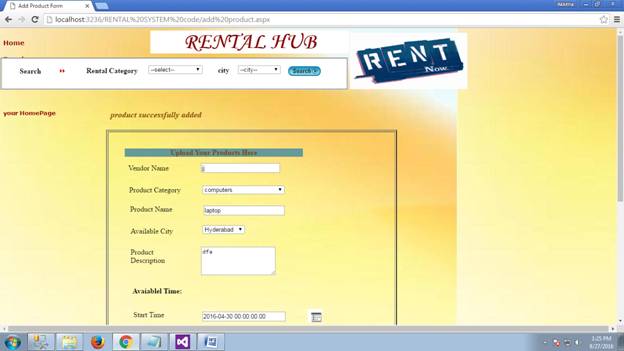
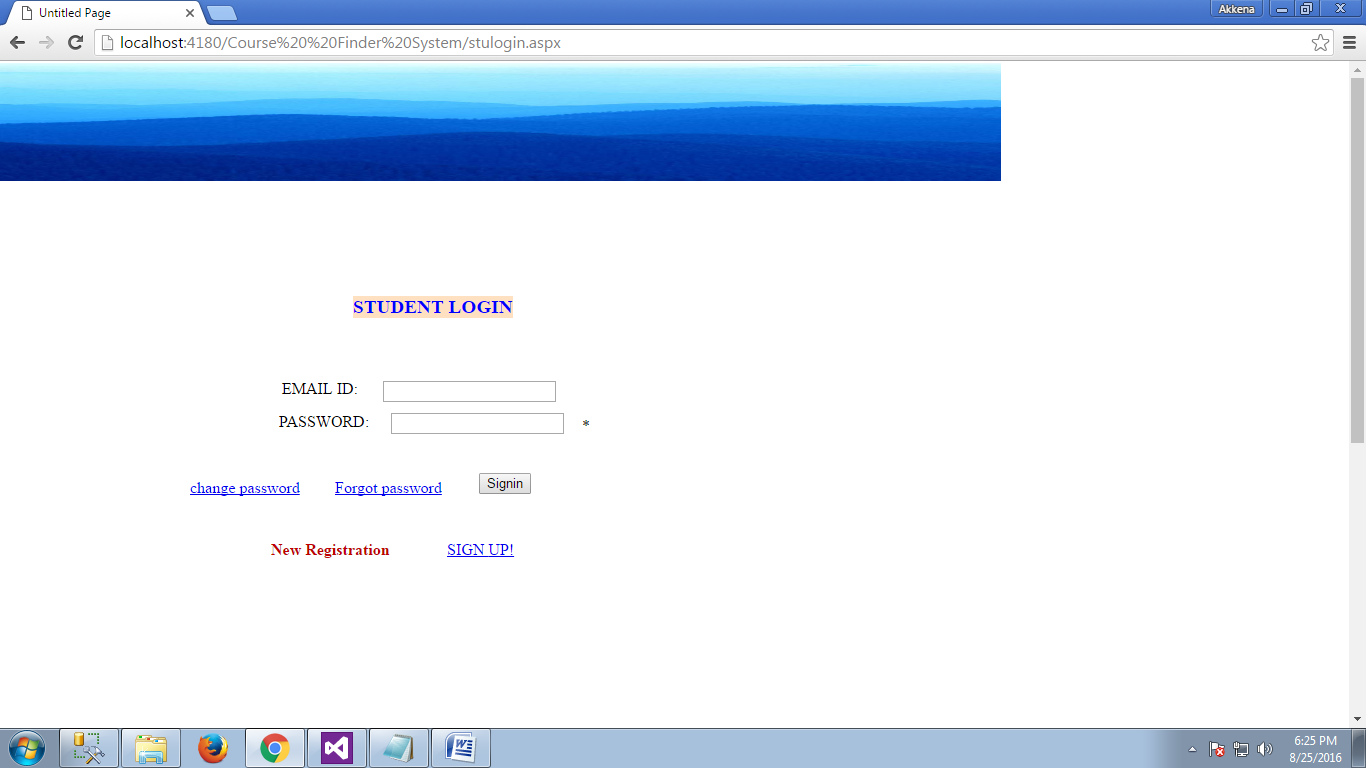
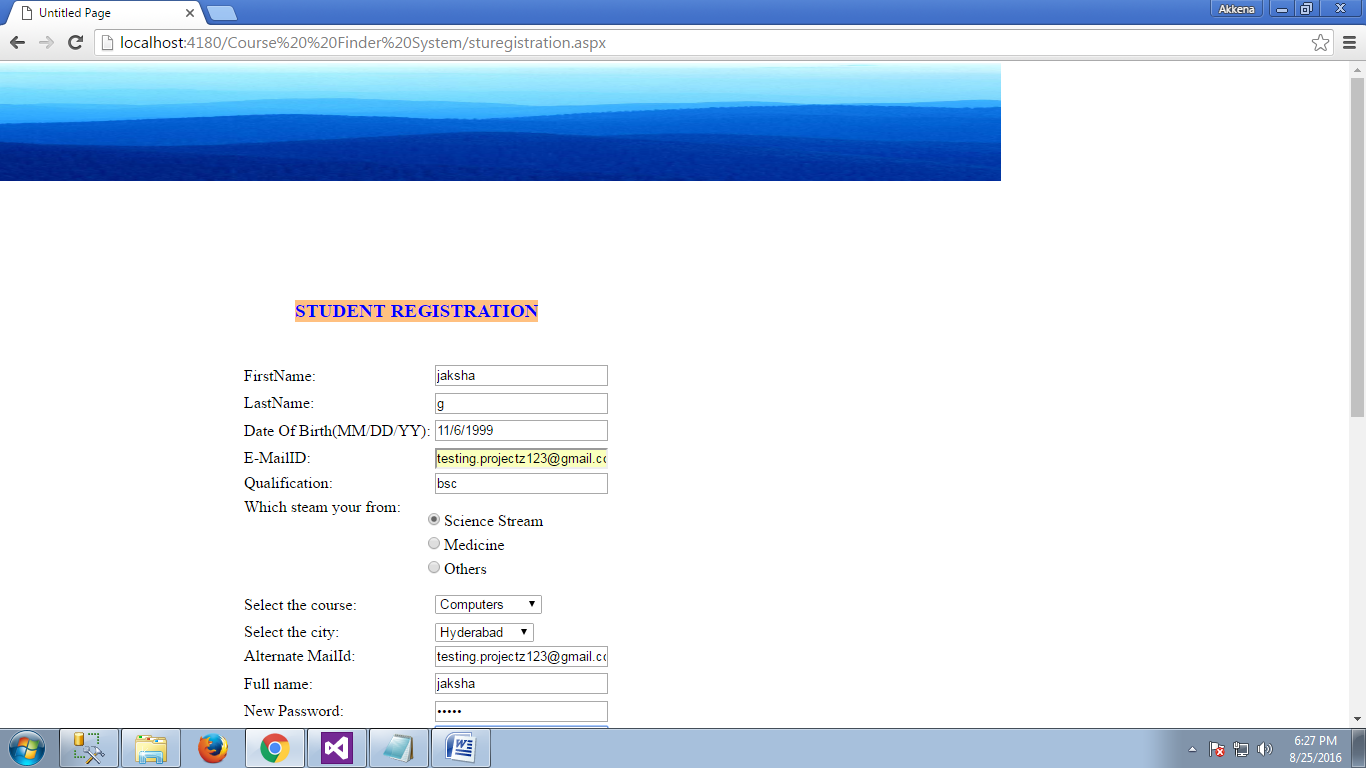
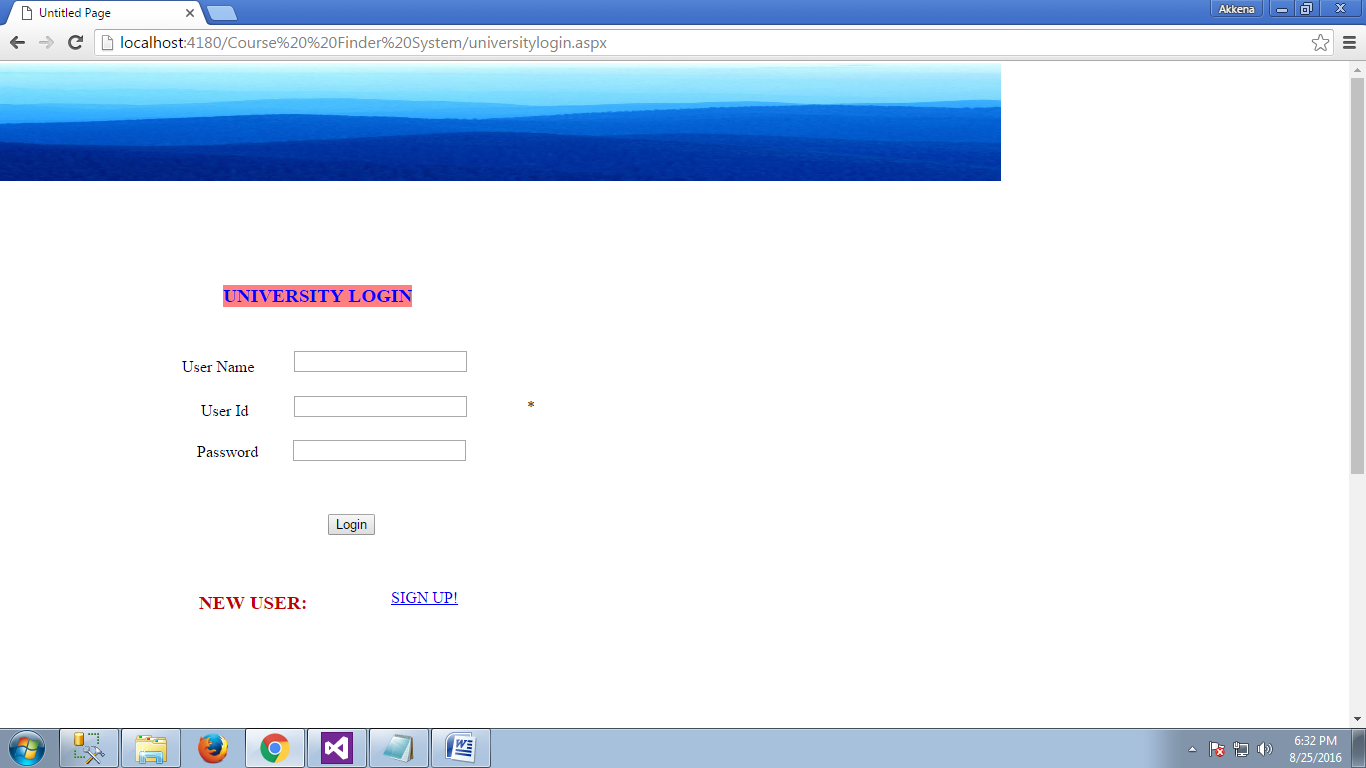
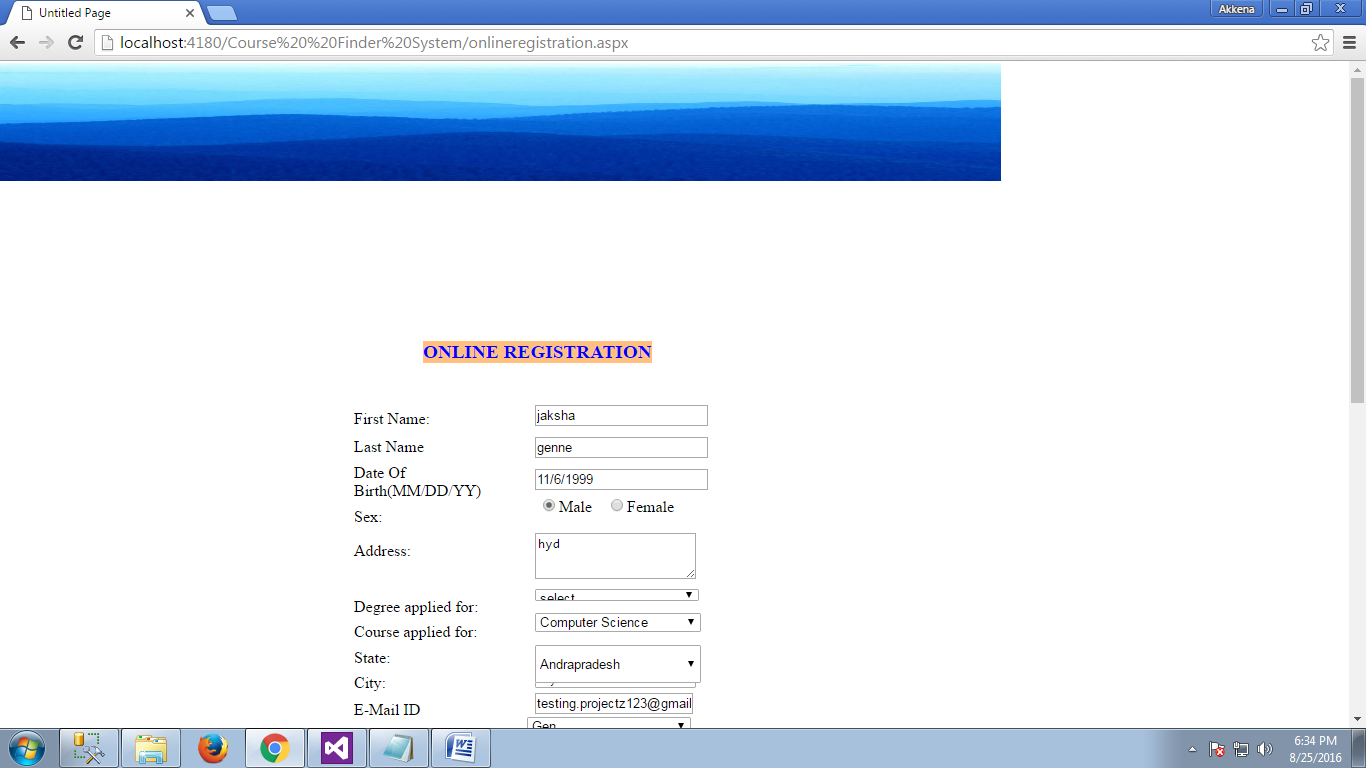
Student module provides students a few options to be selected such as apply for loan, see details and logout Education Loan Management System 04
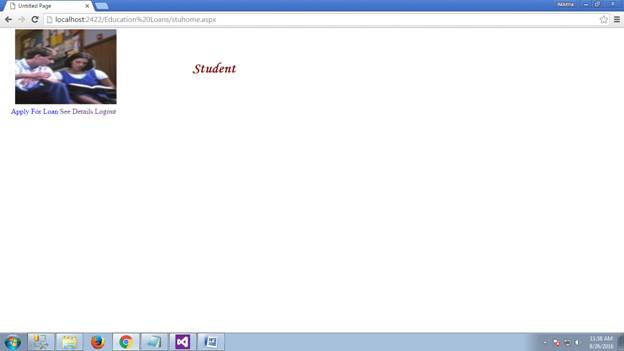
Students who approaches this project will be provided with a unique username and password for this they need to get register to the site by filling the fields by giving the basic information like first name, last name, last college university appeared, name of the last course completed and marks obtained in last course. After filling all the information student should click the continue button which saves the information given and provides authorization to the student to access the site and apply for loan Education Loan Management System 05
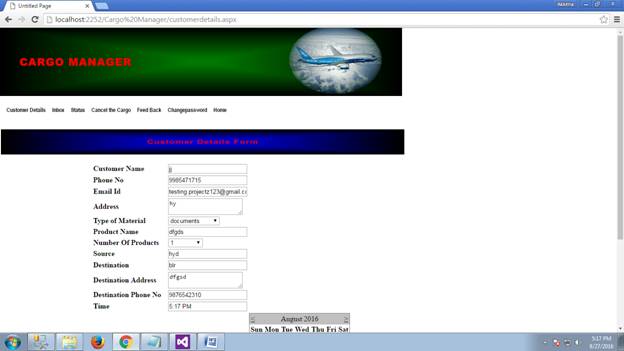
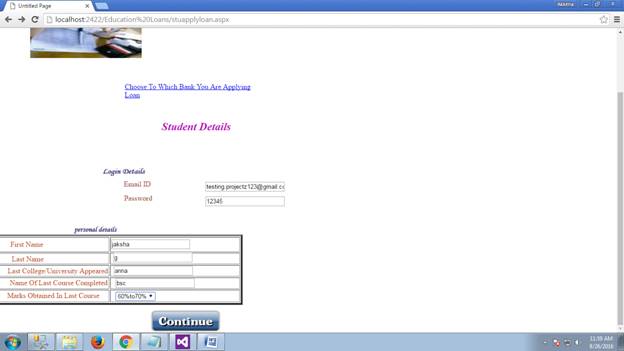
After giving all the personal and educational information to the management they will display a few fields where the student need to check whether the provided information is correct or he can make changes if any incorrect information is shown. To go to the next page student should click the continue button Education Loan Management System 06

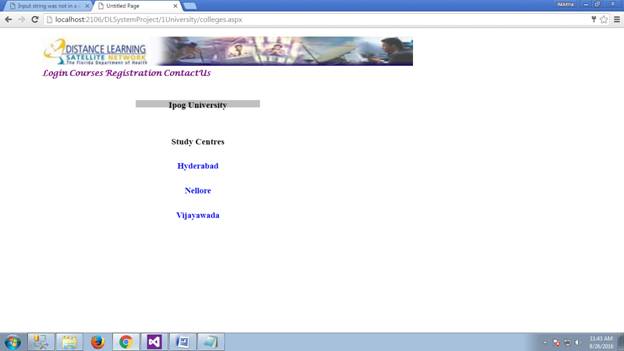
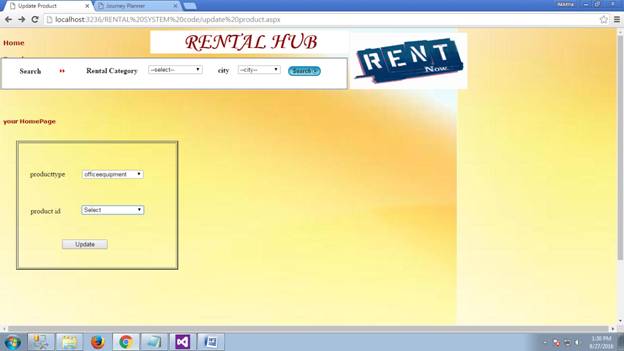
Student need to check the information provided by the management which includes course details like id,college/university name,course type,course name and course duration. Student can make changes if any incorrect information is given and click the continue button Education Loan Management System 07
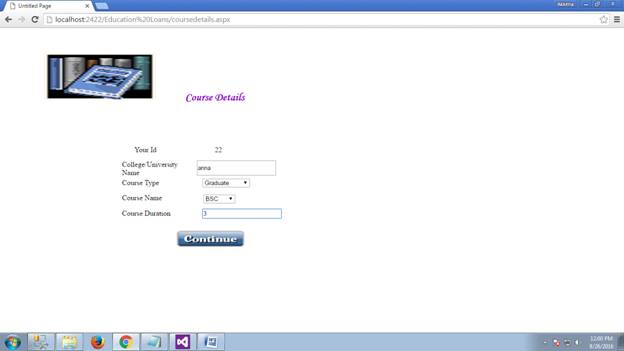
Students will also be provided with the loan details which includes student id, total fee for all years,select bank,interest rate and loan amount. After filling all the information student need to click the continue button to save the details Education Loan Management System 08
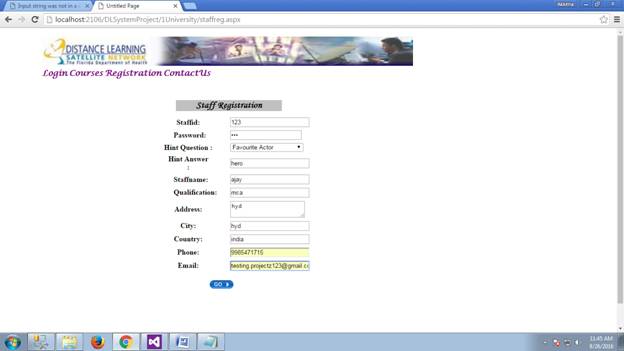
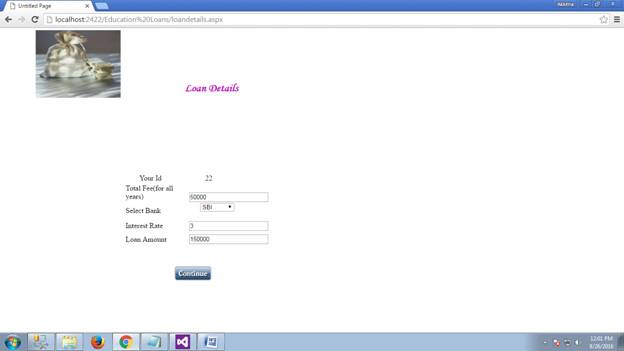
Student must give the co-borrower details which include student id, name of the employee/business, profession of the co-borrower, designation of co-borrower and net monthly income/salary Education Loan Management System 09

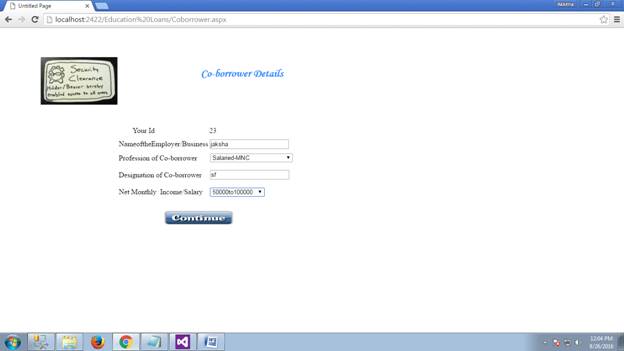
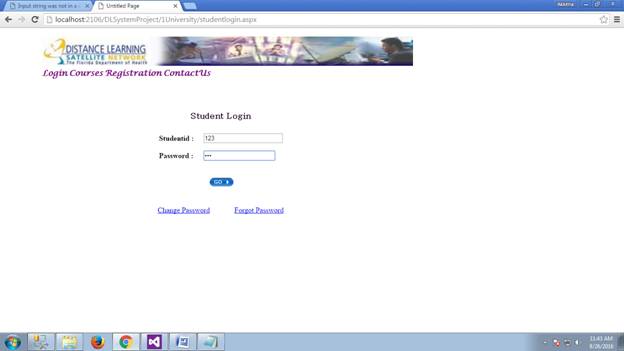
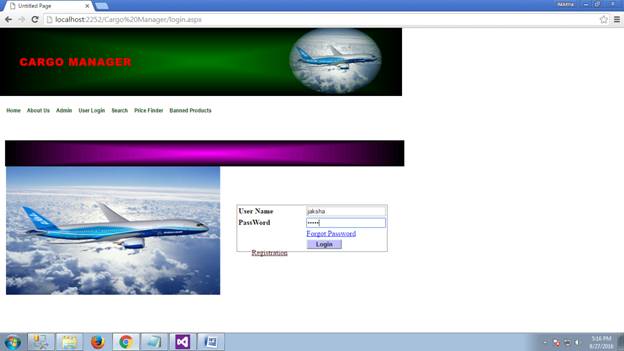
Last page  after giving all the information will appear as applied for loan successfully. A login button will also available there Education Loan Management System 10Students can select the amount to pay by giving the student id and the amount and click the to pay button.Education Loan Management System 11
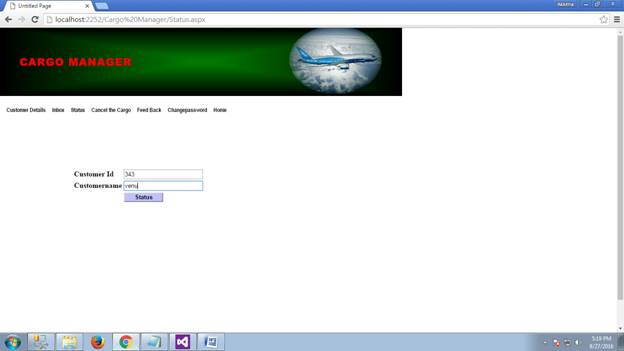
Student can select the amount and click the to pay button.Education Loan Management System 12
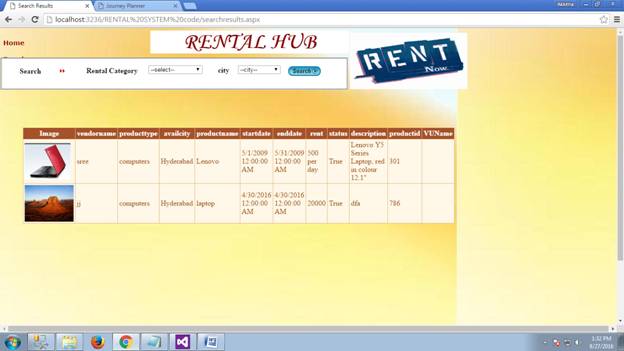
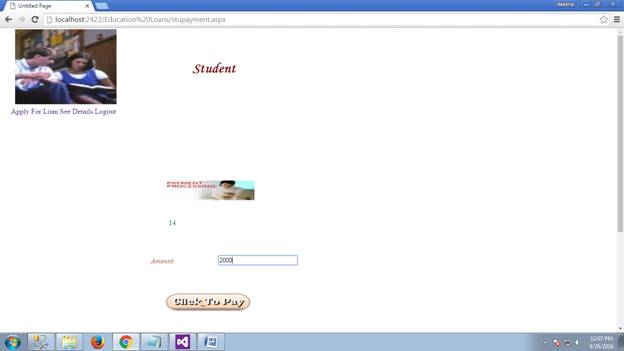
After submitting the amount student can view the details  of all the  transactions made by him.Education Loan Management System 13
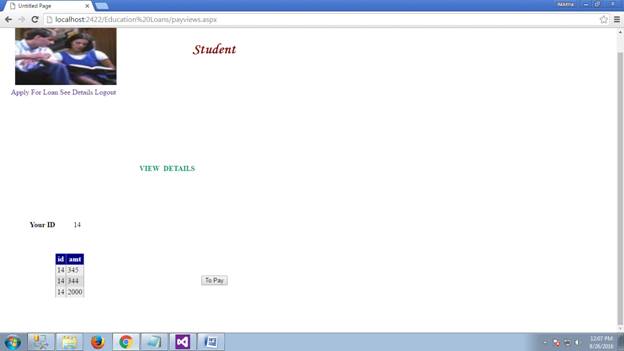
The banking system in this loan process is a very important module because it maintains all the transaction details. This module provides options to be selected which involves ICICI ,SBI,AXIS and logout Education Loan Management System 14 Education Loan Management System 15

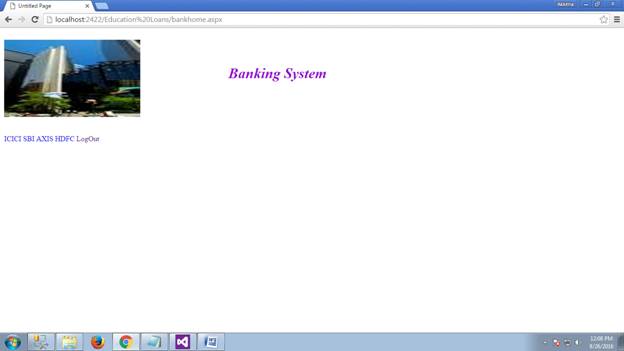
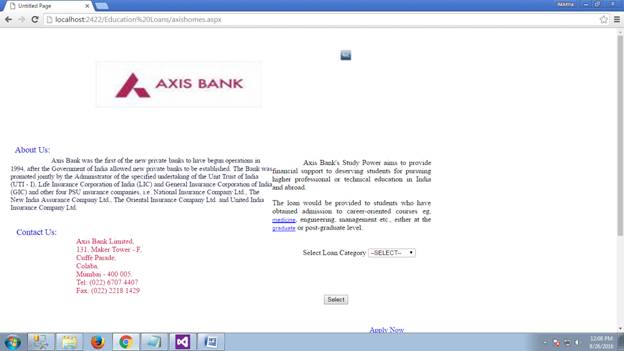
When the student selects the axis bank all the details which include about us and the contact us will be provided. If the student is comfortable with the bank he can apply there by selecting the category and get more details Education Loan Management System 16

When the student clicks on ICICI bank all the details which include about us and contact us will be provided. If the student is comfortable with the bank he can apply and get more details Education Loan Management System 17

In the ICICI bank student need to provide few information like select loan category and education. Mobile banking is also available in this bank.

Distance Learning System .Net Project

Abstract: Distance Learning System is a web based project developed using visual studio and SQL Server to design an automated package of learning online. This system manages the process of learning limited via internet. This system provides all the services online. Students can learn from anywhere irrespective of their location.  Students can access all the information for their education from their location. This system saves lot of time to the students in searching the path of their education.

Distance learning system provides an website for the students. The first page provides a short introduction that helps students to understand about the system. This system provides few modules which include login, courses , registration and  contact us.

Distance learning system 01

Login page which includes the staff login and student login Distance learning system 02Courses which includes MBA and MCA. It also provides list of colleges to the users.

The registration page involves two modules student registration and staff registration. This system provides individual accounts to students and staff. This system provides two types of login, one for staff login and one for student login.

Distance learning system 03

Students can register to this system by selecting the student registration option and fill the fields provided which involves student id, password, hint question, hint answer, student name, course, year, address, city,country,phone and email.All the details will be saved after clicking the go button  Distance learning system 05

After registration student can get logged in by entering studentid and password. Change password and forget password options are also present in this login page . He can make change if necessary Distance learning system 06

Student after getting logged in can view the information about the universities and the study centers Distance learning system 07

Students can get the information about colleges and courses also Distance learning system 08

Staff can register to this system by selecting the staff registration option and fill the fields provided which involves staff id, password, hint question, hint answer, staff name, qualification,  address, city,country,phone and email.All the details will be saved after clicking the go button Distance learning system 09

After registration the staff member can get logged in by entering staffid and password. Change password and forget password options are also present in this login page.He can make change if necessary Distance learning system 10

Staff after getting logged in can view the information about the universities and the study centers Distance learning system 11

The staff member can view the place of study center name , location and courses Distance learning system 12 Distance learning system 13

ASP Training Institute ASP.Net Project

Context:

“ASP Training Institute” is a small company that specializes in IT related training. The company offers workshops for both individuals and organizations. Workshops can be offered in the company’s facilities and are open to both individuals and group registrations. “ASP Training Institute” also offers workshops for various organizations in their facilities. These sessions are to be attended by the organization’s employees only. The company has several full and part time staff with different areas of IT expertise.

As the business has grown, the ASP Training Institute company needs a computer system to handle information about workshops and registrations. Currently, registrations are made by phone and data is stored in an Excel spreadsheet. The company wants the new system to keep information about trainers and workshops as well as allow individuals and organizations to register for the workshops.

General Requirements

There will be three levels of users: administrator, trainer and registrants.

The Administrator will

  1. edit his own credentials
  2. create and edit trainer accounts
  3. indicate which workshops will be offered each month
  4. specify which trainer is assigned to which workshop, based on their expertise
  5. generate a report for a specific workshop
  6. lookup the status of a particular registrant
  7. generate a report about the schedule of a particular trainer

The Trainer will

  1. edit his/her credentials, contact info
  2. update his/her areas of expertise
  3. generate a list of registrants for a specific workshop
  4. update his/her availability

The Registrant will

  1. be able to register in the system
  2. edit his/her credentials, contact info
  3. be able to register for a workshop
  4. be able to arrange a workshop in the case of an organization wanting to train their employees in their facilities.

Technology/tool to be used

The system will be a web based application that will be developed using ASP.NET and SQL server databases. I plan to use Visual Studio 2012, the code will be written in C# and I will use the SQL Server Express that comes with Visual Studio.

Defect Tracking System C#.Net Project

Abstract:

Defect Tracking System is a project developed to detect the defects in the system. This system also  provides the complete information concerning the defects detected. Defect tracking system is to test the application for the defects and report it. All the reports generated will be send to the project manager and developer.All the defects  information will be stored in the system with a unique id in the database for future reference.The defect tracking system will make the job of handling the defects easily.

The defect tracking system provides a website to the users to get access to the system. The starting page contains the fields which will open the further process of  the defect tracking system which include QA engineer, project manager, developer and defects.

Defect Tracking System 01

User need to get registered to the website first. He needs to fill all the information in the provided fields which include name,phone,address,gender,userid,password,secques,answer and type and finally click the submit button.This opens the popup menu with submit message and ok option wher user need to click the ok button to save his information.

Defect Tracking System 02

After completing the registration process user will be provided with a userid and password. User can give the type of option he need and get logged in by clicking on the login button.User can find the option regarding the account like signup, forgotpwd and changepwd

Defect Tracking System 03

With respect to the user given option the QA engineer details will be opened which displays the options like QA id, QA name, phone no, address, skills, qualification and experience. User can edit the details if any incorrect data is entered

Defect Tracking System 04

User  need to give the manager id and qa id to view the project details.

Defect Tracking System 05

After that user have to provide all the information regarding the project which includes project name,defect name,priority,description,developer name,date and the status.  Click the submit button to save the information.

Defect Tracking System 06

All the defects and the reports of the defects dected will be shown in detailed to the user in a tabuler form.

Defect Tracking System 07

User need to give the information to the fields to see the details of the project manager and click the submit button

Defect Tracking System 08

User will be provided with a username and password along with type of field he needs to enter in.

Defect Tracking System 09

In the project manager page user can enter into other fields provided as employ id, project info, assigned info, project status.

Defect Tracking System 10

User can view all the details of the project manager whenn he clicks the project managerdetails field on the left of the page.

Defect Tracking System 11

User can also see the details of the employee by selecting the employee info option. Defect Tracking System 12

User can submit the information about the project which include project id,project name,no of people,duration,client and requirements of the project.And click the submit button.

Defect Tracking System 13

After submitting the project details user need ot provide additional info like empid, field, managerid ,duration and asigned date.And click the submit button.

Defect Tracking System 14

User will be displayed all the details of the project in a tabular form with an extra option to edit or delet the information.

Defect Tracking System 15

User can insert the information by filling the details to the fields projectid, project name, managerid, empid, projectstatus, projectstartingdate and click the submit button where all the information will be inserted into the table.user can view the inserted information by clicking on the display button.

Defect Tracking System 16

User can enter into developers page by selecting the type as developer.

Defect Tracking System 17

Usere needs to fill the details to enter and click the submit button.

Defect Tracking System 18

User will be provided with an username and password to get logged in.

Defect Tracking System 19

In the developer page the fields include developer details, updatedetails, projectdetails and defect info.

Defect Tracking System 20

User need to fill the information like id,name,address,phoneno,gender,qualification,skills,joiningdate and exp and click the submit button to view the developers details.

Defect Tracking System 21

User can view the qa details and will be able to edit the information.

Defect Tracking System 22

can view all the details of the  project  by providing the managetid and developerid.

Defect Tracking System 23

User can view the defect info by selecting the defectinfo option.This displays all the detailed information of the  defects detected in the project

Defect Tracking System 24

To enter into the defects page user need to give the type as defect along with username and password.

Defect Tracking System 25

User need to fill the information regarding the defects field to display the defect field.

Defect Tracking System 26

In the defect field two options are provided to the user i.e.,defectsdet and defectsins.

Defect Tracking System 27

To detect the defect  user need to give the name,priority ,descr,date,projectname and the status and click the submit button.

Defect Tracking System 28

All the defects details will be displayed in a tabular form.

Defect Tracking System 29

Cargo Management System .Net Project

Cargo Management System is a comprehensive module designed for addressing the areas of general cargo operations through the aviation. Cargo management system are an innovative way to load and store heavy or bulky cargo’s.

Cargo manager is a domestic air express market which transfers goods. Cargo manager can serve the customers  by carrying the goods from one place to another. Customers can approach this cargo manager with the help of website.

Cargo Management System 01

Cargo manager website provides some information about themselves in the opening page. The details include their services .terms and conditions.

Cargo Management System 02

Cargo manager provides the contact details to the customers. Customers can even search the states and location to check the availability of the service.

Cargo Management System 03

Customers can check the availability by filling the fields which include origin city,destination city,weight and total price and click the  find button to check the availability.

Cargo Management System 04

Cargo management system provides a clear information about the banned products to the customers. So customers can avoid all the items listed by the cargo manager.

Cargo Management System 05

Customers can login with the username and password if he is already old user. Or he need to register with the website.

Cargo Management System 06

User can register to the site in a simple way by giving the details about username ,password ,phone number and email id and click submit button.

Cargo Management System 07

Customer now can login by using the valid username and password.

Cargo Management System 08

After registration user can give the basic details which will be used for the transaction. The transaction details include customer name,phone no,email,type of material,product name,number of products,source,destination,address destination phone no and time.

Cargo Management System 09

Customer after sending the product can check the status by giving the customer id and customer name

Cargo Management System 10

Customer will get a greeting message from cargo management provided with the customer id.

Cargo Management System 11

When the customer checks the status of the product he will get all the information of the product in an table form. He will get the status whether delivered or not.

Cargo Management System 12

Customer can write  the feedback to the cargo manager by selecting the feedback option and click the send button.

Cargo Management System 13

Customer can change the request by selecting the cancel the request option and fill the fields which include customer id,customer cancel request and date and click the send button.

Cargo Management System 14

Customer can change the password to their account by entering the username,current name. password,enter your new password and click the save button which will save the new password.

Cargo Management System 15

Customer after selecting the home option will return back and if he wants to login he need to give the username and password and click the submit button.

Cargo Management System 16

After getting logged in he will see the welcome page.

Cargo Management System 17

Traveler Information System .Net Project

Traveler information system is a software application which is a computerized system. This system allows to maintain all the records related to agencies and customers travel information in a computerized way which saves lot of time. This System provides accurate, real-time traveler information which is viewed by many public transportation agencies.

Traveler information system provides a website to the users to use all the services. Websites first page is ‘about us’ which gives a small introduction to the customers about the site.

Traveler Information System 01The next page shows ‘contact us’ and ‘contact information’ which provides the detailed information about the traveler agency which includes mobile number,telephone number,email,website and location of the agency.User can contact them for more information. Traveler Information System 02The traveler acency page contains  fields at the buttom left of the page which includes agency register,login and home Traveler Information System 03If the user is older member of the agency then he can get logged in by giving username and password. If he is a new user he need to get registered to the website by giving some personal information Traveler Information System 04After submitting all the information user will get an valid agency id and password wher he can get logged with them an do the further activities. Traveler Information System 05User can find customer reports,agency timings,logout and add branches fields on the left size of the page Traveler Information System 06Agent will enter into customer queries page where he need to fill some information like send to customer name,customer mail id and agency mail id. After filling the details he will sent to the customer. Traveler Information System 07Agency timings page where he need to fill all the information about agency name,bus no,timings,agency id and branch name and click the save button. All the information given by will be stored in the database. Traveler Information System 08User can add a new branch by providing the information about the branch name.begin place-end place,contact,agency id and branch mail id and click the submit button Traveler Information System 09User after clicking the submit button will create a new branch.The information given will be stored and displayed in a tabelar form Traveler Information System 10Customer view page has registration,login and home fields Traveler Information System 11The customer can get registered to the site by filling the personal details Traveler Information System 12He can get logged in by using the valid customer id and password Traveler Information System 13Customer can book tickets by filling the fields which include customer id,customer name,contact email id,luggage details,agency name,from details,to details ,date,comment and agency mailid and click ok button which start the process of booking the ticket Traveler Information System 14Customer will get all his entered details in a tabler form and need to conform once before proceding Traveler Information System 15Customer can check all the information entered by him  in the process of booking ticket Traveler Information System 16Customer can cancel the ticket which is already booked. For this process he need to give the customer id,agency name from and to details Traveler Information System 17Customer from the next time can open the site directly by giving the login-id and password and click login button Traveler Information System 18Customer can view the branch details also Traveler Information System 19Traveler information system provides an extra feature for the customer to view all the details of the other customer in the site Traveler Information System 20

Customer can add new root by filling the details of travel agency name,root to and from,email amnd phone number and click submit button Traveler Information System 21

A Wavelet Laplace Variational Technique .Net Project

Abstract: A wavelet Laplace variational technique is a project developed to improve the resolution of the images and to constract a new variational inpainting method. This method is based on PDE techniques which involves localized wavalet based methods. In this technique the variational formulation of the problem allows the users to build the properties of the recovered signal directly into the analytical machinery.
This application provide users to register to the site and become members.older users can enter into the site by giving the valid username and password and click the signin button.

Wavelet-Laplace Variational Technique 001

After entering into the site user will find the image deconvolution and in painting page with some affect providing fields which include invert,gray scale,brightness,contrast,color,resize,exposure,hue and saturation.All this options are available in basic mode.

Wavelet-Laplace Variational Technique 002
To start the work user should select an image from his computer and place it on the editor screen with the help of file menu.

Wavelet-Laplace Variational Technique 003
User can make changes to the image as he required. He can change the color of the image and he can apply the invert feature to the image.Invert feature will arrange the position of the image.

Wavelet-Laplace Variational Technique 004
User can use all the features to the image,he can apply the grayscale feature to the image which changes the color of the  image to the gray color.

Wavelet-Laplace Variational Technique 005

User  can increase the brightness of the image. This feature will be applied when he clicks on the brighten field on the left. This opens a popup menu with a scale to increase or decrease the brightness of the image. If the brightness is adjusted then he can click ok or he can get the previous image by selecting the restore button.

Wavelet-Laplace Variational Technique 006
User can contrast the image which makes the image looks different in luminance or color.Soon after clicking the contrast button a popup menu will be opened with a adjustment scale and restore button.

Wavelet-Laplace Variational Technique 007
User can adjust the color of the image in an easy way.A popup menu with the adjustment scale will be opened and make the work of the user much  easier. It also contains the options like colorize and restore.

Wavelet-Laplace Variational Technique 008
User can resize the image  by using the resize option . The resize popup menu includes the options width and height. An extra checkbox bi-linear filtering is also available in this resize option.if the size is adjusted then user need to click on the ok button which saves the specified size of the image.

Wavelet-Laplace Variational Technique 009
Exposure is an  amount of light per unit area which opens a popup menu with a adjustment scale and restore option.

Wavelet-Laplace Variational Technique 010
Hue is an option which is used to change or adjust the  color or shade of  the image. This also opens a popup menu with a adjustment scale and restore option.

Wavelet-Laplace Variational Technique 011

Saturation is an expression for the relative bandwidth of the visible output from a light source. This option gives the aspects of color in the red, green, and blue.

Wavelet-Laplace Variational Technique 012
When the user clicks on the topology identification button which is the second mode  it opens other page with some new effects which include emboss laplacian,horizontal,vertical,edge enhance.edge detect quick and sodel.

Wavelet-Laplace Variational Technique 013

The third mode provided by this application is convolute mode which will give other effects to the image  like remove noise,motion blur,frosted glass,bathroom window horizontal,bathroom window vertical, bathroom window both and partial gaussian blur.

Wavelet-Laplace Variational Technique 014
The fourth mode is in-painting which will allow the user to perform the actions like in-paint, smooth, gaussian blur,mean removal,sharpen and random jitter.

Wavelet-Laplace Variational Technique 015

Load Balancing Strategy System .Net Project

Abstract:

Load balancing strategy system is a project developed to handle the crucial issues in multimedia systems. The client requests from large-scale multimedia storage system may have different demands ,the placement and replication of the objects which are very important factors. These issues lead to the imbalance in the server loading across the system.

Load balancing strategy system introduces the object storage server which responds to the requests that comes from the centralized servers . These servers are independent and has no communication with other systems.

Load balancing strategy system provides a website where  users can get logged in by giving the username and password. This is possible if the user is already registered with the site.

Load Balancing Strategies 0User will get a welcome message after entering to the site’s homepage. This page also shows other links which includes distributed server config,status report and file upload.User can get to then by clicking on them.

Load Balancing Strategies 1
Load balancing strategy system provides an extra features to the users to upload a file. User can upload a file by entering the details in the fields given in the page which includes image id,image name and upload image where the user can choose it from his PC and click the save button.

Load Balancing Strategies 2
User can also give the additional information like user id,user name,password, server name, IP address and port no and click save button which will be saved in his account.

Load Balancing Strategies 3
Client login page where he can search the information. Client can enter by giving the valid username and password and click the sign in button.

Load Balancing Strategies 4

Client can search for his requirements by giving the name of the city and click the search button. This application provides the client to check the status . Client can find the field check status at the right side of the page.

Load Balancing Strategies 5
Client will get the information according to his search in a tablet form which includes disconnect,server name IP address port no and bandwidth.

Load Balancing Strategies 6
Client can view the catch server also, where the fields are start catch metadata server,stop catch metadata server and layout catch metadata server. Client can select the required field.

Load Balancing Strategies 7

Online Rental Hub .Net Project

Online rental hub is a web application developed to gadget a website for different cities to sell or buy a product. Rental hub provides service to buy or sell products online irrespective of their location at any time. Rental hub provides direct communication between customer and the vendor and maintain the database. This application acts as an interface between the vendor and the rental showroom owner. The application provides an extra feature of relocating the service.

Online rental hub provides a website to the users who need to advertise their product. If the vendor is already a member then he can go to the member login and can directly  give his credentials. All the website is maintained by the admin he can enter by giving the username and password.

Online rental hub_01Admin will enter into the site by giving the admin name and password. Online rental hub_02Admin can view all the transactions made by the customers. The Administrator after Login to the site he verifies the recent bookings from customers. Then he will forward all the  bookings details to the vendors. Admin will place all the available orders for the day to be visited by the customers. Online rental hub_03Admin will list all the details of the vendors and place in order .The details include requirements,date and time,name, phone number and email of the vendor. Online rental hub_04

All the information given by the vendors such as product details and personal details and feedbacks will be viewed by the admin. Admin will accepts feedback from the customer and gives the proper answers to them. All the booking details are also maintained by the admin Online rental hub_05

If admin forgets the password then he can retrieve into the account by filling the details and get the password Online rental hub_06

All the formation of the site permissions are given to the admin .He will retrieve all the product details and list them inorder to make the vendors work easier in viewing the product.The product details includes image,vendorname,producttype,avaliablecity,productname,startdate,enddate,rent,status,description,productid and vuname Online rental hub_07

Vendor can give the username and password if he is already registered with the site. If  the vendor is a new member then he needs to register by going to member login page Online rental hub_08

The Vendor fills the registration form by giving the personal information and successfully registers with the website Online rental hub_09

Vendor will be provided with a username and login after completing the registration successfully to access the account Online rental hub_10

Vendor can view and edit his profile if needed.our site provides extra features to the vendors like adding the product,updating the product and delete the product Online rental hub_11

Vendor can add the product details by giving the required information which includes vendor name,product category,product name,available city,product description Online rental hub_12

Product typr and product id and click update.Thus, the product will be update into the site. Vendor can even update the existing product details such as rent, available dates etc by    entering the product id of that product Online rental hub_13

If the vendor wants the product to be deleted  the he can give the product type and  product id and click the delete button. This action will delete the product from the website Online rental hub_14

Vendor can view his profile and make changes if needed Online rental hub_15

Vendor can search the product by giving the product type and product id. All the Customers after accessing the site can search for products, if he finds the required product then he need to fill the booking form and submit to the database Online rental hub_16

Course Finder and Allocation Management Tool

Course finder and allocation management tool is a project which deals with the education system. This application provides guidelines to the students who are at the beginning searching for the courses. This application deals with different types of courses and facilities. Students who are newly entering from secondary education to higher secondary education and above need the complete information about courses so that they can select the right one suits to them. This application allows students to improve their skills and get details of the placements, college photographs, expertise.

This application is developed to design and develop an automated package named course finding system for managing the search of colleges via the internet. This application provides a website for the students where the starting page contains a welcome page which gives a small intro about the application. Getting started we can find three links at the left as home, student and contact us.

Course Finder1

If a student wants to contact the site then he can give username and type his query and mention his email id so that admin can forward answer to his query. Then he can click the submit button.

Course Finder and Allocation Management Tool 002If a student is already registered with this site then he can directly give his email id and password.  Course Finder and Allocation Management Tool 003

A student can get access to the site by getting registered to the site. he needs to fill out all the personal information along with educational qualifications and selected course.He can also select a username and password.

Course Finder and Allocation Management Tool 004

A student can change his password by entering user id and fill the requirements like old password, retype password,new password and confirm the password and click the confirm button. Course Finder and Allocation Management Tool 005

If in case student forgot the password he can give the alternative email and get the access again.

Course Finder and Allocation Management Tool 006

In this application, students can search for the college in a very easy way. For making a search student need to give the details like the select course,state and city and then click the enter button.

Course Finder and Allocation Management Tool 007All the requested searches will be received by the database and student will get the result within no time. Course Finder and Allocation Management Tool 008

After selecting the college student can view the information about the college which include the location of the college, courses offered by the college, faculty, labs, fee,etc.

Course Finder and Allocation Management Tool 009Students can get logged with the university at the same time. Student need to open the university login page and enter username,user id and password if he is already a member or he needs to get registered first and get access Course Finder and Allocation Management Tool 010

For the students who are new need to get registered and fill the information like name,personal details and educational qualifications Course Finder and Allocation Management Tool 011After getting access to the university site student can select the university and grab the required information Course Finder and Allocation Management Tool 012The final step after getting all the information is to log out from the university site If the login process is done properly then the student will get the message that you have been successfully logged out.

Download Course Finder and Allocation Management Tool .Net Project Source Code, Report.