Project Abstract: This Online Crime Investigation System software presents the part of an organization’s work as per the requirements, specifications, and conditions mentioned in the user manual. This application s/w has been developed and completed successfully and also tests successfully by taking “Test Cases” It is user-friendly and has all the needed menu options, which can be utilized by the user to perform the desired operations. Moreover, help messages are provided which will help any authorized user from using the system without trouble.
The proposed system is not limited presently. Presently we have to login to the system online and post the complaints. We can further develop the system by using the “Voice Recognition System”. So this project has got scope to get developed in the near future. The scope of the project exists throughout the life of the product development, testing and implementation.
Deployment of Application:
1) Copy the Online Crime Investigation System application folder to
F:\Tomcat5.5.9\webapps\
2) Click on start.bat in the bin folder of tomcat
3) Create a User in Oracle as follows:
CREATE USER OCR IDENTIFIED BY OCR;
GRANT DBA TO OCR;
CONN OCR/OCR
Now place the all tables in the table.txt file at the SQL Command Line
And type the following command
COMMIT;
4) Create user DataSourceName(DSN) as
click –> Start —> Control Panel—> Administrative Tools
Software Requirements:
- Operating System: Windows 98 or above
- Front end : HTML & JAVA SCRIPT, J2EE(JSP,servlets,Ajax),
- Back end : Oracle 8i
- Web Server: Tomcat 5.5.9
- Front end : HTML & XML
- Middleware : J2EE(JSP)
- Application server : Web logic 7.0
Crime Investigation System Screen Shots:
1. Crime Investigation System
HomePage
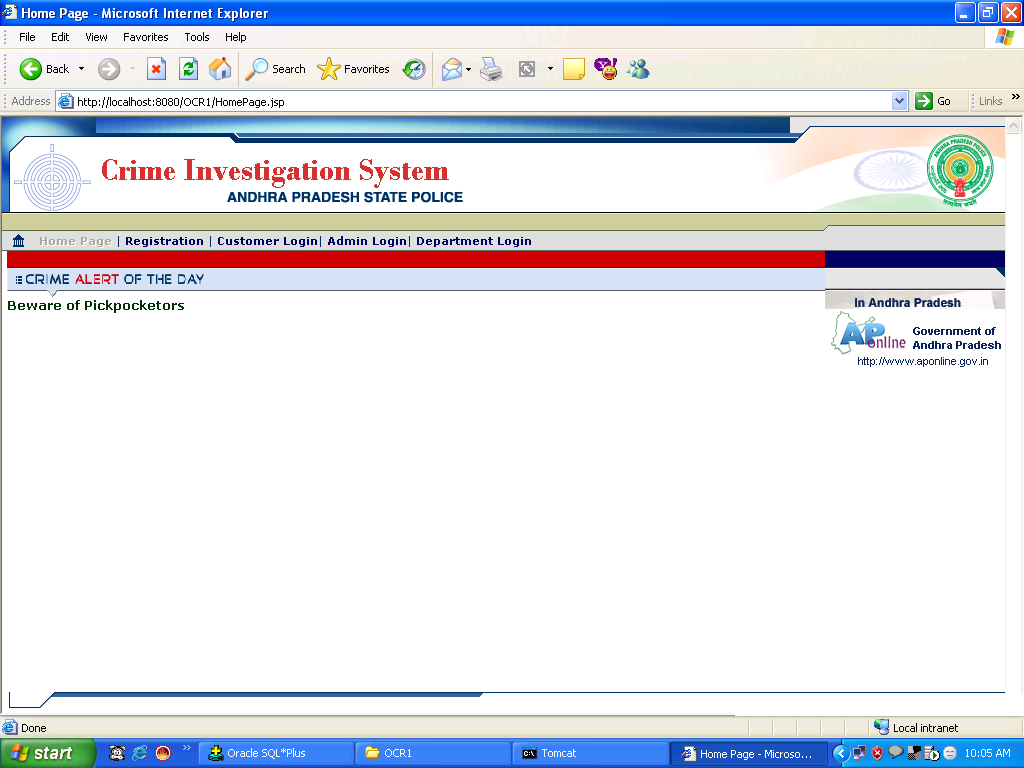
Overview
Functional Overview
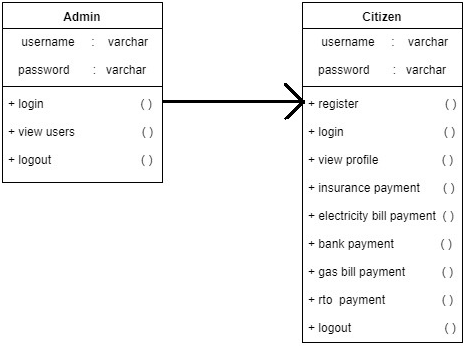
This module/screen is the Homepage for the Crime Investigation System Application.
Technical Overview
This module Admin or Police Department or Customer can login through screen and customer can register.
Navigations
Customer Login ->Customer LoginScreen
AdminLogin ->Admin Login Screen
Home ->Application Homepage
Department Login ->Department Login Screen
Registration ->Customer Registration Form
ADMIN MODULE
2. Admin Login Screen
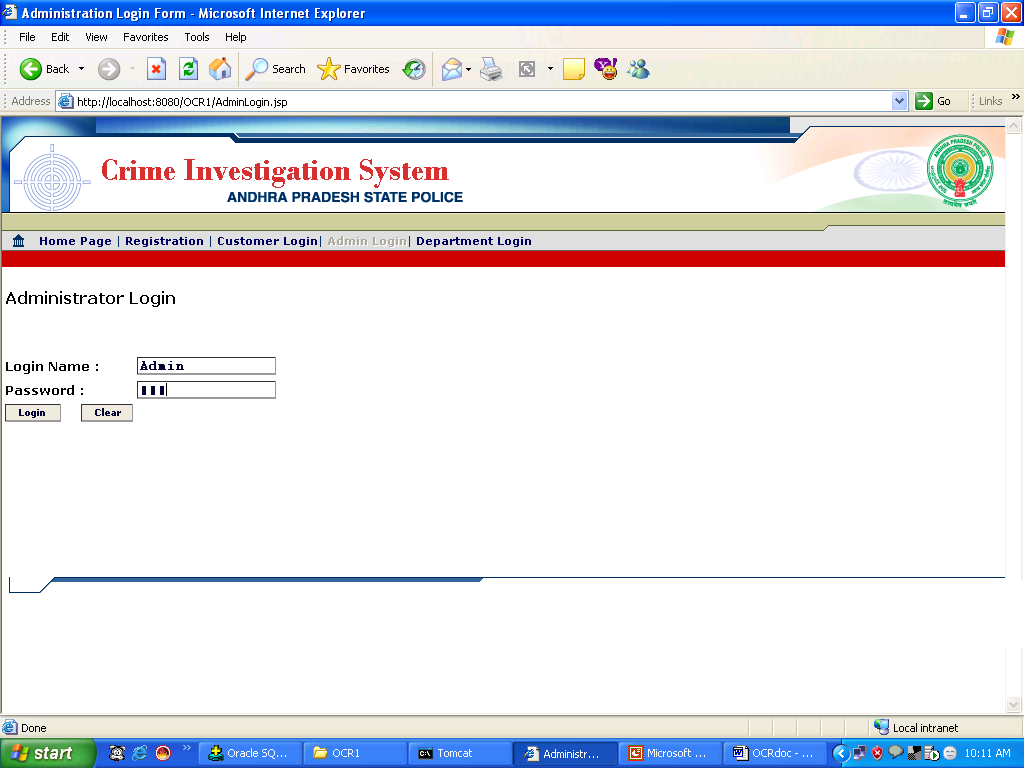
2.1.1 Overview
Functional Overview
This module/screen is used to Admin Login Process.
Technical Overview
- This module takes the valid Admin Username and password.
- The particulars are valid you will get Admin Homepage otherwise it will displays the message “Invalid Login Information”.
Navigation
AdminLogin->AdminLoginScreen
Action Controls
Control
Name |
Type |
Description |
Action |
| |
|
|
|
| Login |
button |
Gets the particulars of the Admin Login Details. |
Admin Homepage |
| Clear |
Button |
Clear the fields on the form |
Login Screen |
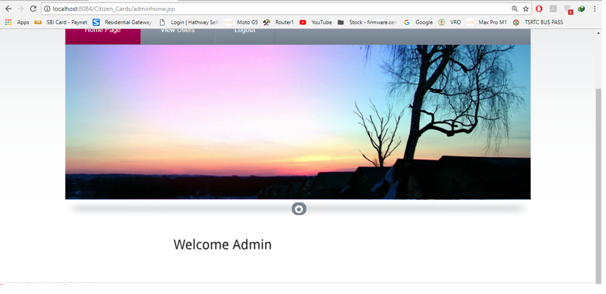
3. Admin Home Screen
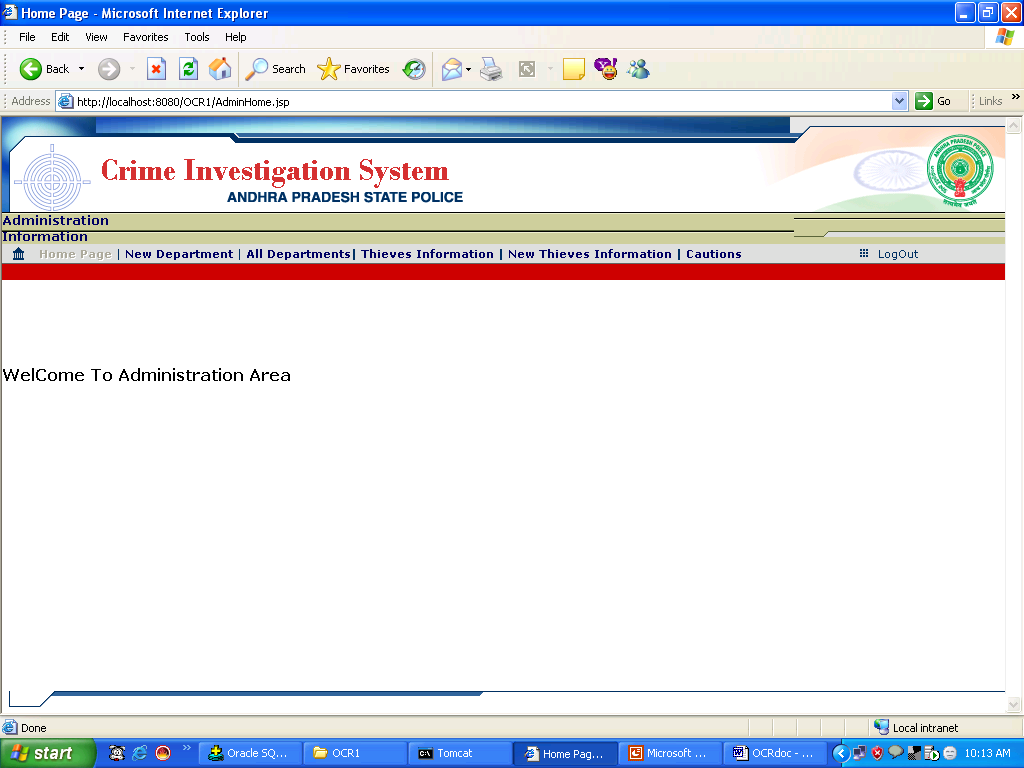
3.1.1 Overview
Functional Overview
This module/screen is used to operate Administration Module.
Technical Overview
- This module is used to create new Police Departments and updating the existed department details.
- This module is used to create new thief Information and updating the existed thief information
- Creating New Caution Information.
Navigation
AdminLoginProcess->AdminHomePage Screen
Action Controls
Control
Name |
Type |
Description |
Action |
| |
|
|
|
| New Department |
HyperLink |
Displays the New Department registration Form |
Department Registration Form |
| All Departments |
HyperLink |
Displays the existed department details screen |
List of departments |
| New Thief Information |
Hyperlink |
Displays the New thief registration Form |
Thief Registration Form |
| Thief Information |
HyperLink |
Displays the existed thief details screen |
List of Thief Information |
| Caution |
HyperLink |
Displays Caution registration Screen |
Caution Registration Form |
4. Department Registration Screen
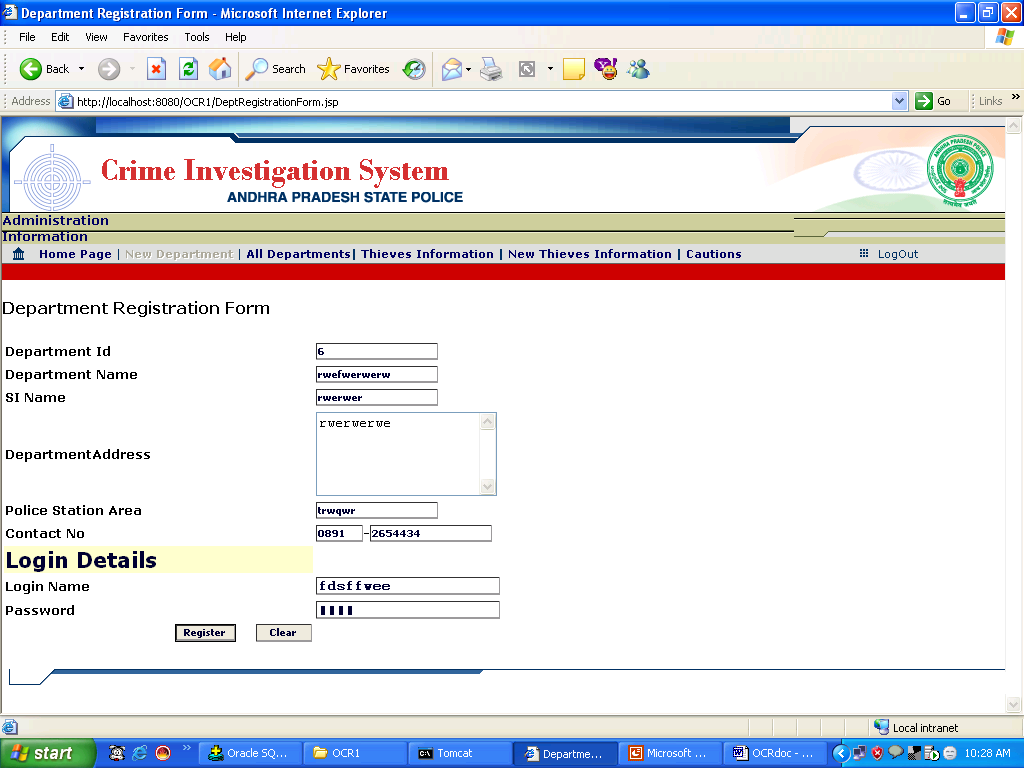
4.1.1 Overview
Functional Overview
This module/screen is used to register New Department Information.
Technical Overview
- This module takes the valid new Department Information and Login details.
- These New Department particulars will be stored into “POLICE_DEPARTMENT” database table and login details into “LOGIN_MASTER” table.
Navigation
New Department->Department Registration Screen
Action Controls
Control
Name |
Type |
Description |
Action |
| |
|
|
|
| Register |
button |
Gets The new Department information and login details from the form. |
Stores the department data into table POLICE_DEPARTMENTlogin details into table LOGIN_MASTER |
| Clear |
Button |
Clears the field in the form |
New Department Registration form will be displayed |
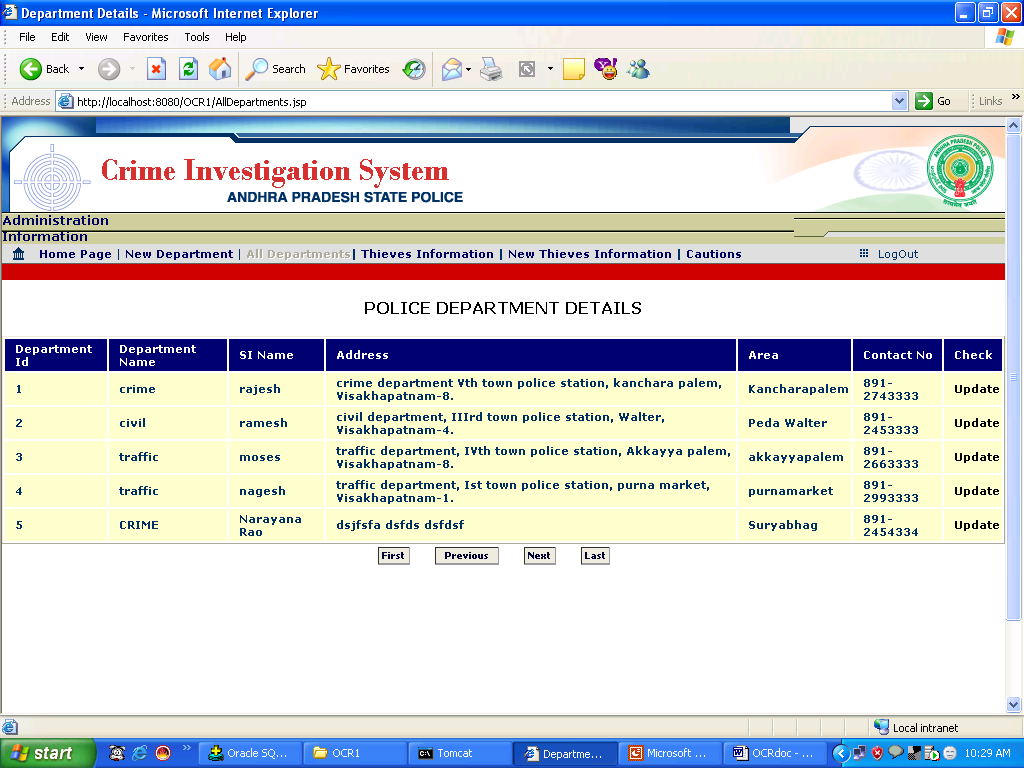
5. Updating Department Details Screen
SCREEN1
SCREEN2

5.1.1 Overview
Functional Overview
This module/screen is used to Display the list of Department and Updating the department Information according to the Department Id.
Technical Overview
- Click on Update then it will takes the Department Id and displays Screen2 (Popup Window).
Navigation
All Departments->Department Details
Action Controls
Control
Name |
Type |
Description |
Action |
| |
|
|
|
| Update |
button |
Displays the Department information of selected Department Id. |
Displays the Department Information Screen(Screen2) |
| Close |
Button |
Closes the Department Modification form |
Displays All Department Screen (Screen1) |
6. Thief Registration Screen
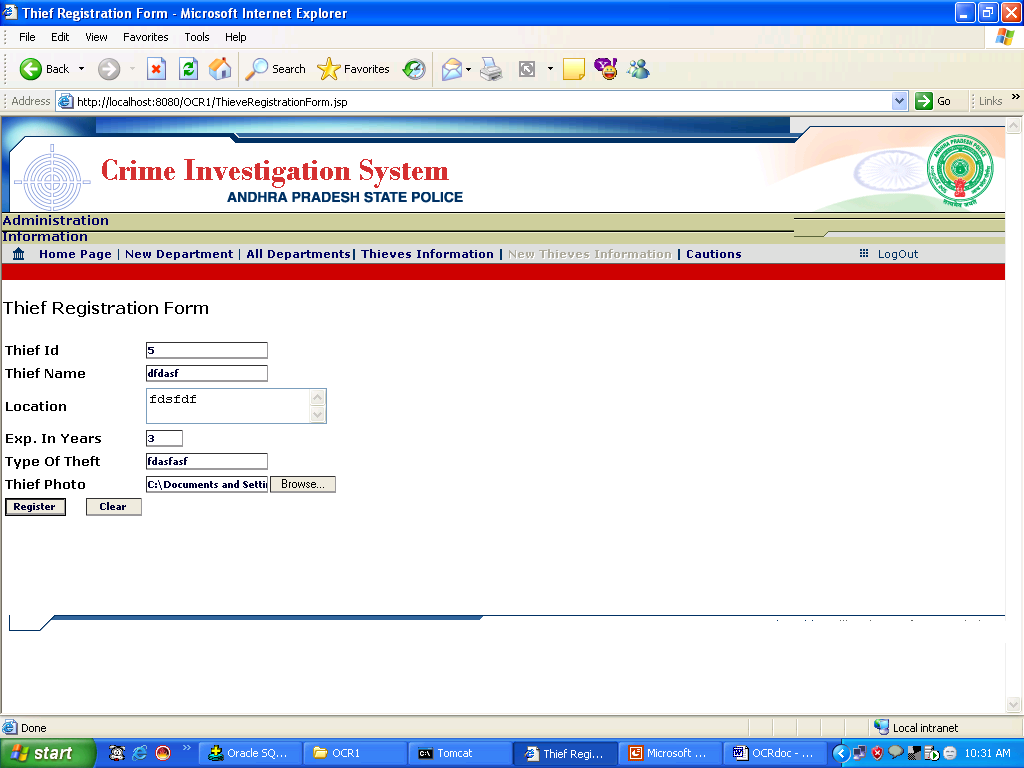
6.1.1 Overview
Functional Overview
This module/screen is used to register New Thief Information.
Technical Overview
- This module takes the valid new Thief Information.
- These New Thief particulars will be stored into “THIEVES” database table .
Navigation
New Thieves Information->Thief Registration Screen
Action Controls
Control
Name |
Type |
Description |
Action |
| |
|
|
|
| Register |
Button |
Gets The new Department information and login details from the form. |
Stores the thieves data into table THIEVES |
| Clear |
Button |
Clears the field in the form |
New Thieve Registration form will be displayed |
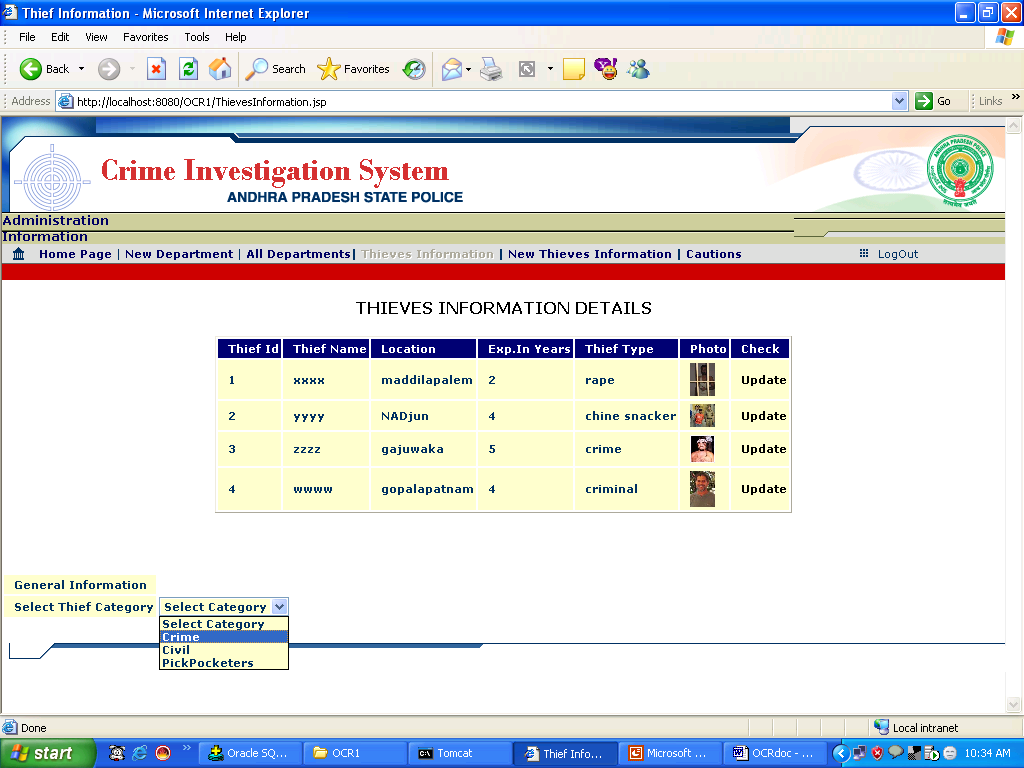
7. Updating Thief Details Screen
SCREEN1
7.1.1 Overview
Functional Overview
This module/screen is used to Display the list of Thieves and Updating the thief Information according to thief Id.
Technical Overview
- Click on Update then it will takes the thief Id and displays Screen2 (Popup Window).
- If you select thief category then according to the selected Category it will Displays Screen3
Navigation
Thieves Information->Thieved Information
Action Controls
Control
Name |
Type |
Description |
Action |
| |
|
|
|
| Update |
button |
Displays the Thief information of selected Thief Id. |
Displays the Thief Information Screen(Screen2) |
| Close |
Button |
Closes the Thief Modification form |
Displays All Department Screen (Screen1) |
8. Caution Registration Form
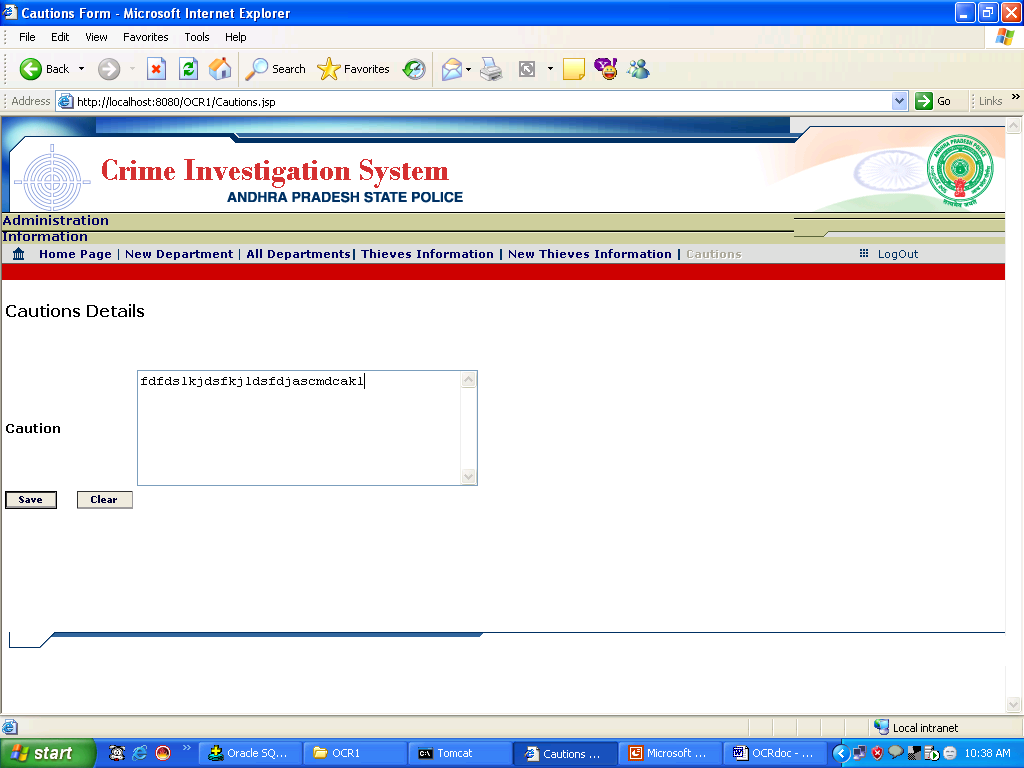
7.1.2 Overview
Functional Overview
This module/screen is used to Create New Cautions.
Technical Overview
- This module takes the valid caution Information and will be stored into CAUTIONS Data Base Table.
Navigation
Caution->Caution Registration Form
Action Controls
Control
Name |
Type |
Description |
Action |
| |
|
|
|
| Save |
button |
Gets the required input details. |
caution Information and will be stored into CAUTIONSData Base |
| Clear |
Button |
Clears the fields data |
New Caution Form will be displayed |
DEPARTMENT MODULE
8. Department Login Screen
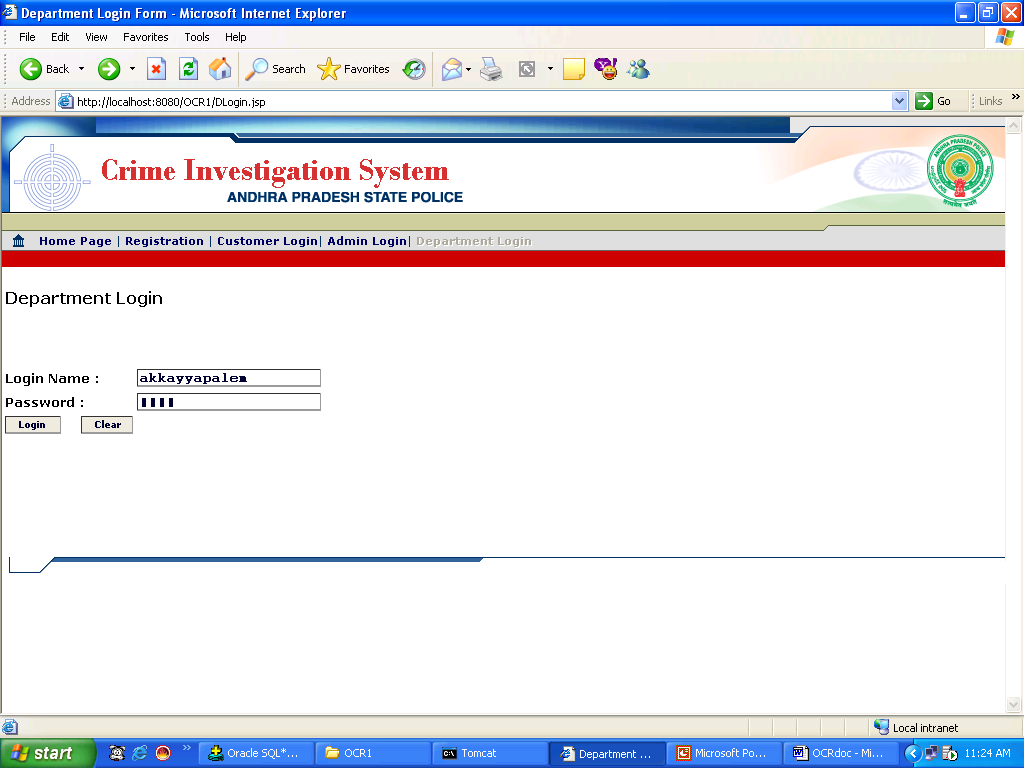
8.1.1 Overview
Functional Overview
This module/screen is used Department Login Process.
Technical Overview
- This module takes the valid Username and password.
- The particulars are valid you will get Department Homepage otherwise it will displays the message “Invalid Login Information”.
Navigation
Department Login->Department Login Screen
Action Controls
Control
Name |
Type |
Description |
Action |
| |
|
|
|
| Login |
button |
Gets the particulars of the Department Login Details. |
Department Homepage |
| Clear |
Button |
Clears the Form Details |
New Login Screen Will be displayed |
9. Department HomePage

9.1.1 Overview
Functional Overview
This module/screen is used to process the Department operations.
Technical Overview
- In This module department can see his complaint details and thief information.
- Updating complaint status and modifying the selected thief informtaion.
Navigation
Department Login Process -> Department Homepage.
10. Requested Complaints
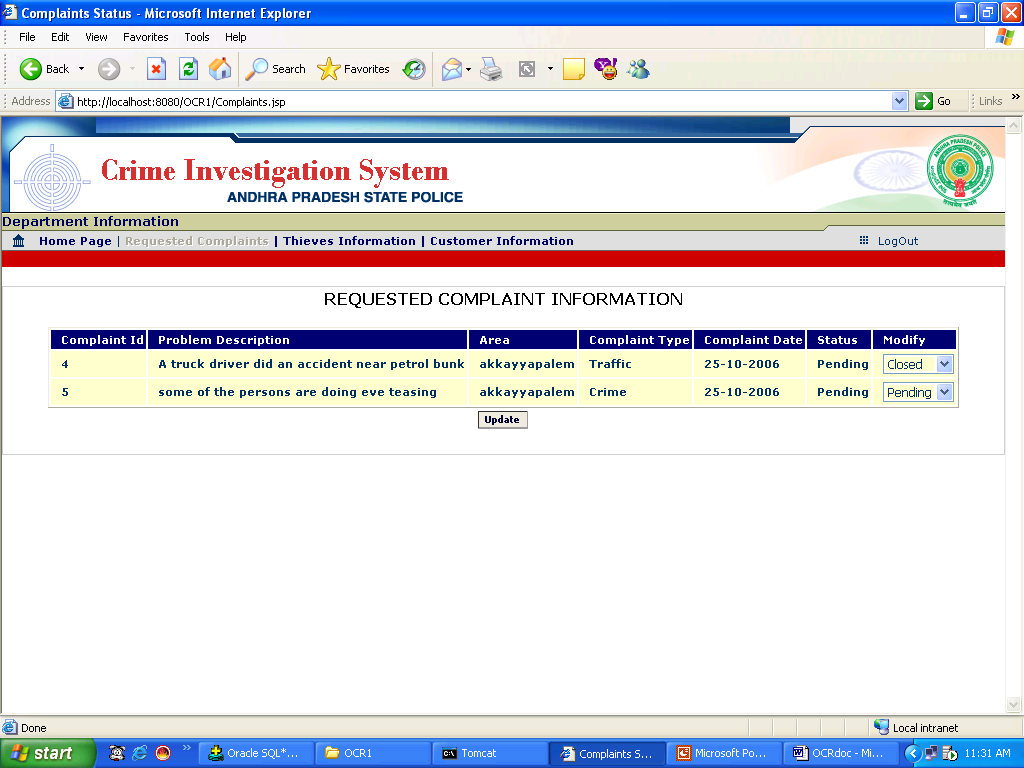
10.1.1 Overview
Functional Overview
This module/screen is used Display the complaints Information.
Technical Overview
- Updating the complaint status by changing the options in the Modify column.
- In options when the complaint status is ‘Closed’ then only you will get new option ‘ReOpen’ in the options
Navigation
Requested Complaints->Complaints Status
Action Controls
Control
Name |
Type |
Description |
Action |
| |
|
|
|
| Update |
button |
Gets the modified details. |
Changes the status of the complaint in COMPLAINT_REG Table |
11. Thief Details Screen
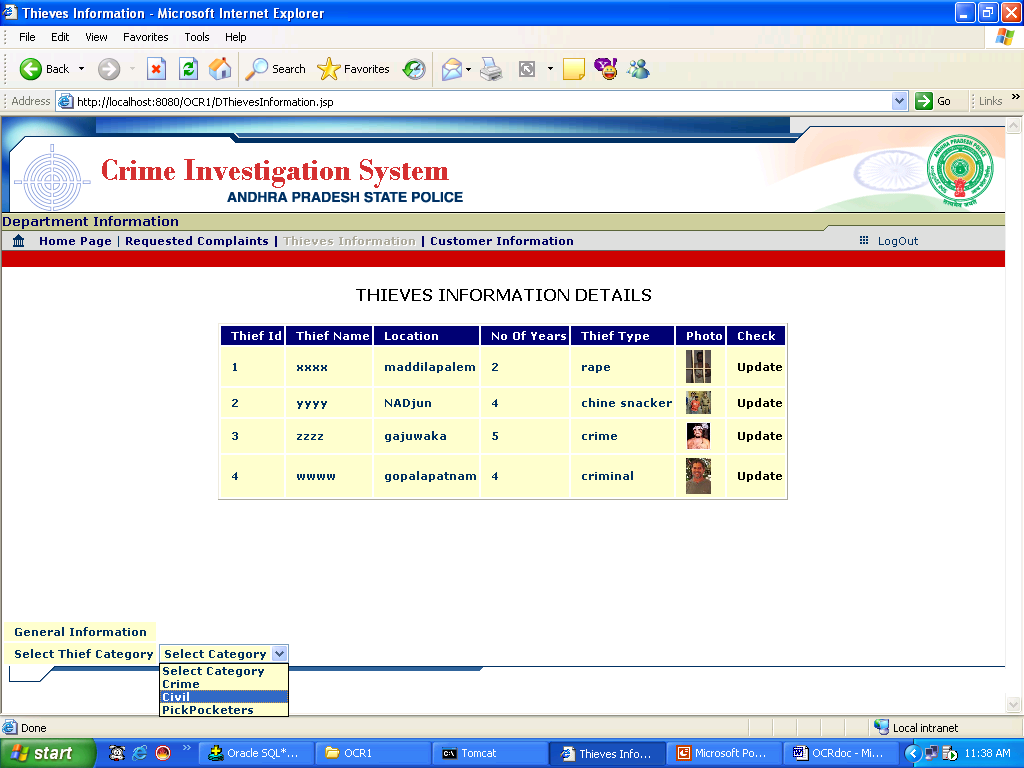
11.1.1 Overview
Functional Overview
This module/screen is used to Display the list of Thieves and Updating the thief Information according to thief Id.
Technical Overview
- Click on Update then it will takes the thief Id and displays Screen2 (Popup Window).
- If you select thief category then according to the selected Category it will Displays Screen3
Navigation
Thieves Information->Thieve Information
Action Controls
Control
Name |
Type |
Description |
Action |
| |
|
|
|
| Update |
button |
Displays the Thief information of selected Thief Id. |
Displays the Thief Information Screen(Screen2) |
| Close |
Button |
Closes the Thief Modification form |
Displays All Department Screen (Screen1) |
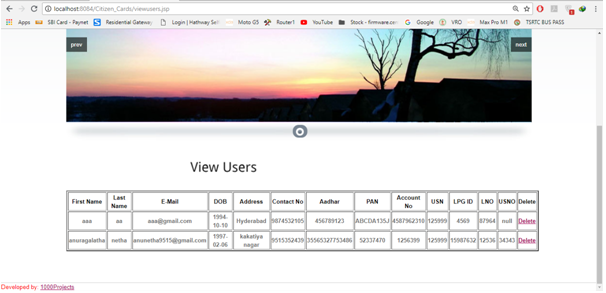
12. Customer Information
11.1.2 Overview
Functional Overview
This module/screen is used to Display all registered Customer Details
Navigation
Customer Information->Customers Information Screen
CUSTOMER MODULE
12. Customer Registration Screen
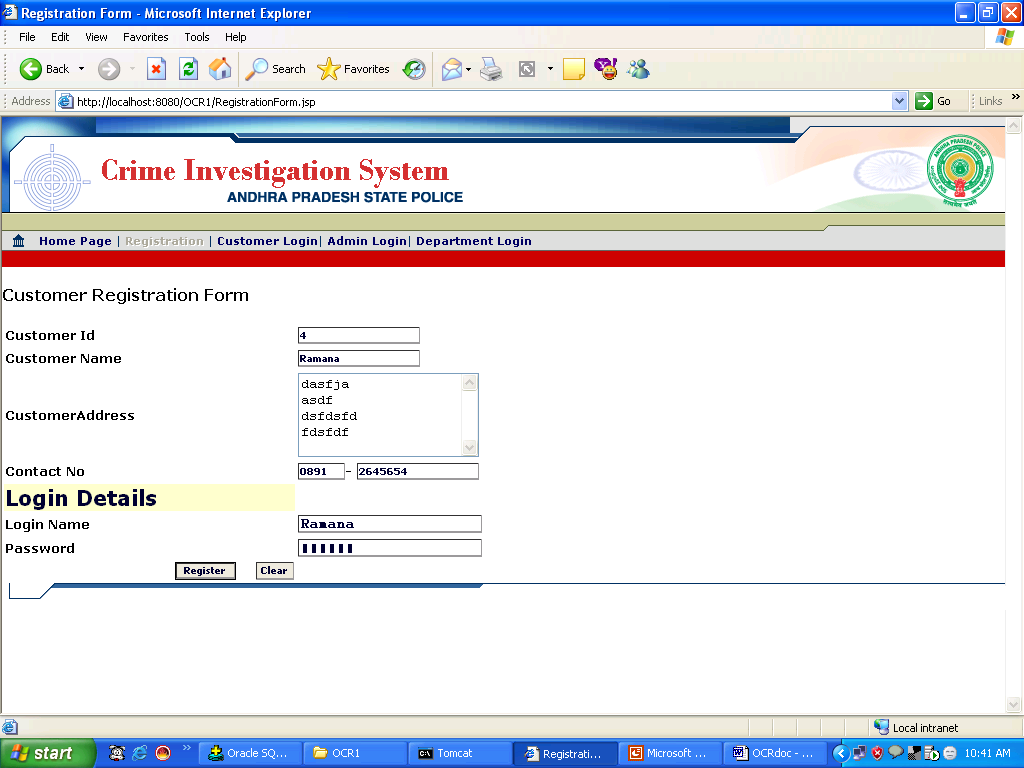
12.1.1 Overview
Functional Overview
This module/screen is used to Customer Registration.
Technical Overview
- This module takes the valid new Customer Information and Login details.
- These New Customer particulars will be stored into “CUSTOMER_MASTER” database table and login details in “LOGIN_MASTER”.
Navigation
Registration->Customer Registration Screen
Action Controls
Control
Name |
Type |
Description |
Action |
| |
|
|
|
| Register |
Button |
Gets The new Customer information and login details from the form. |
Stores the employee data into table “CUSTOMER_MASTER” |
| Clear |
Button |
Clears the field in the form |
New Registration form will be displayed |
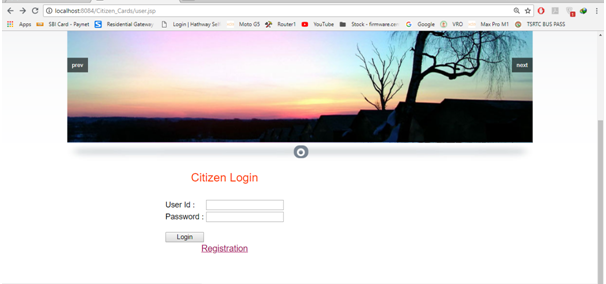
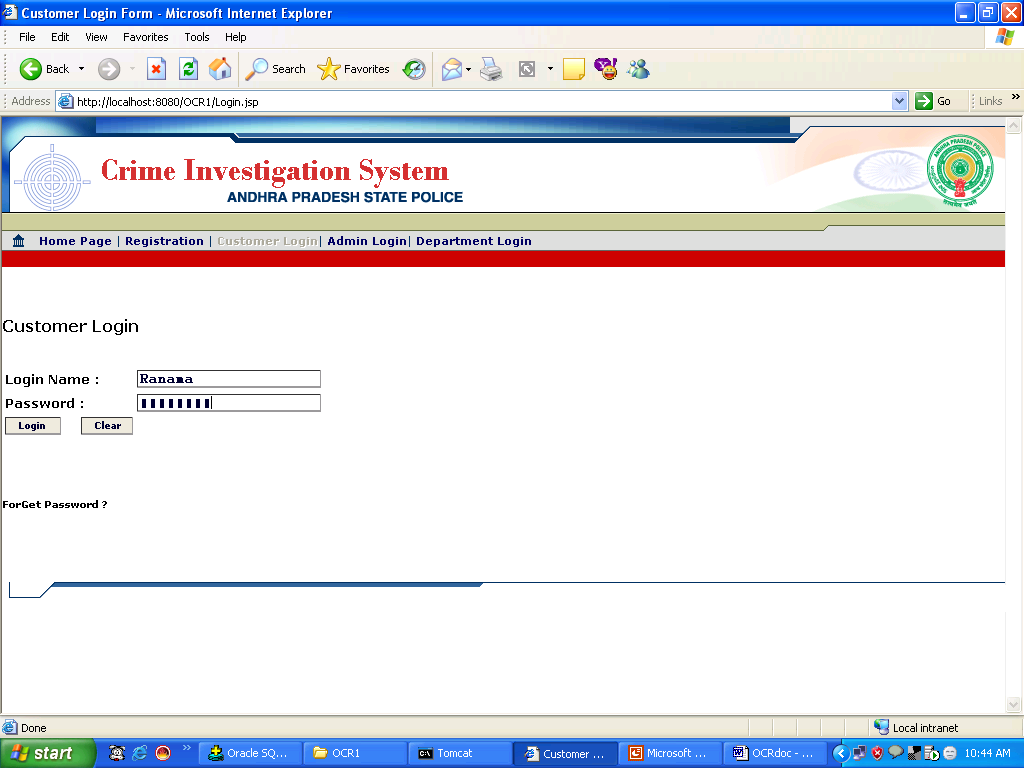
13. Customer Login Screen
13.1.1 Overview
Functional Overview
This module/screen is used Customer Login Process.
Technical Overview
- This module takes the valid Username and password.
- If The particulars are valid you will get Department Homepage otherwise it will displays the message “Invalid Login Information”.
- If you forgot your password then click on Forget Password option.
Navigation
Customer Login->Customer Login Screen
Action Controls
Control
Name |
Type |
Description |
Action |
| |
|
|
|
| Login |
button |
Gets the particulars of the Customer Login Details. |
Customer Homepage |
| Clear |
Button |
Clears the Form Details |
New Login Screen Will be displayed |
14. Customer HomePage
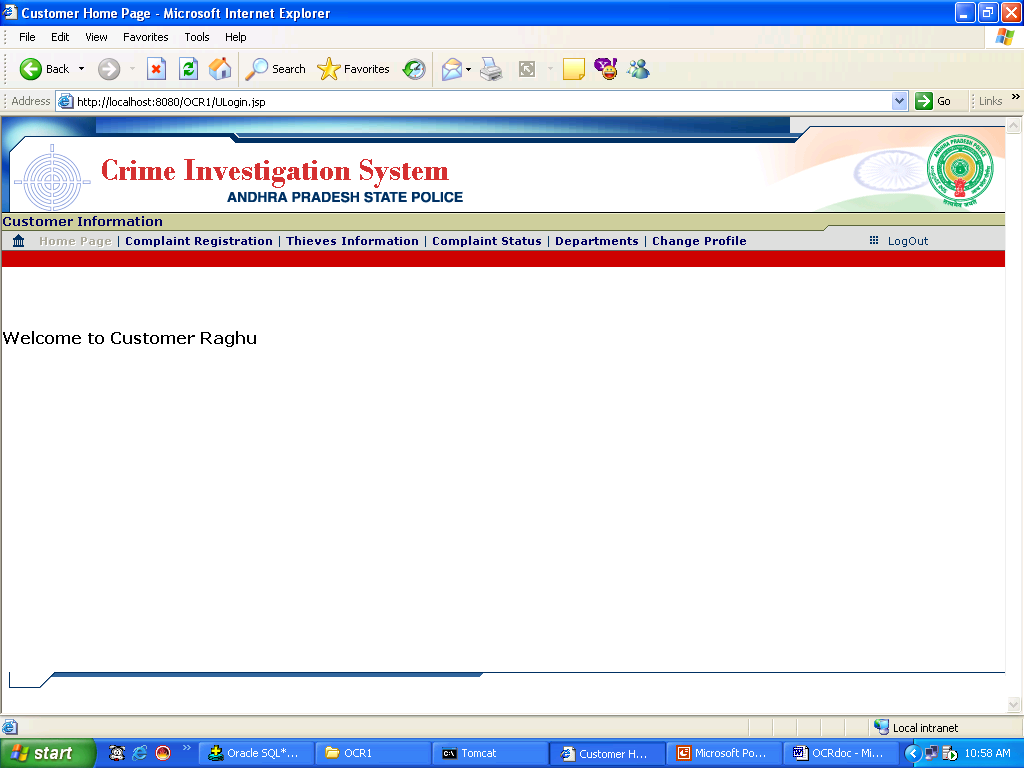
14.1.1 Overview
Functional Overview
This module/screen is used to process the Customer operations.
Technical Overview
- In this module customer can register his complaints and update the complaints.
- Customer can modify the complaint information, if the status is “Pending”.
- Checking the status of the complaints.
- Displaying all department details.
- Displaying all thief information.
- Changing the personal details.
- changing the password.
Navigation
Customer Login Process -> Customer Homepage
15. Complaint Registration Screen
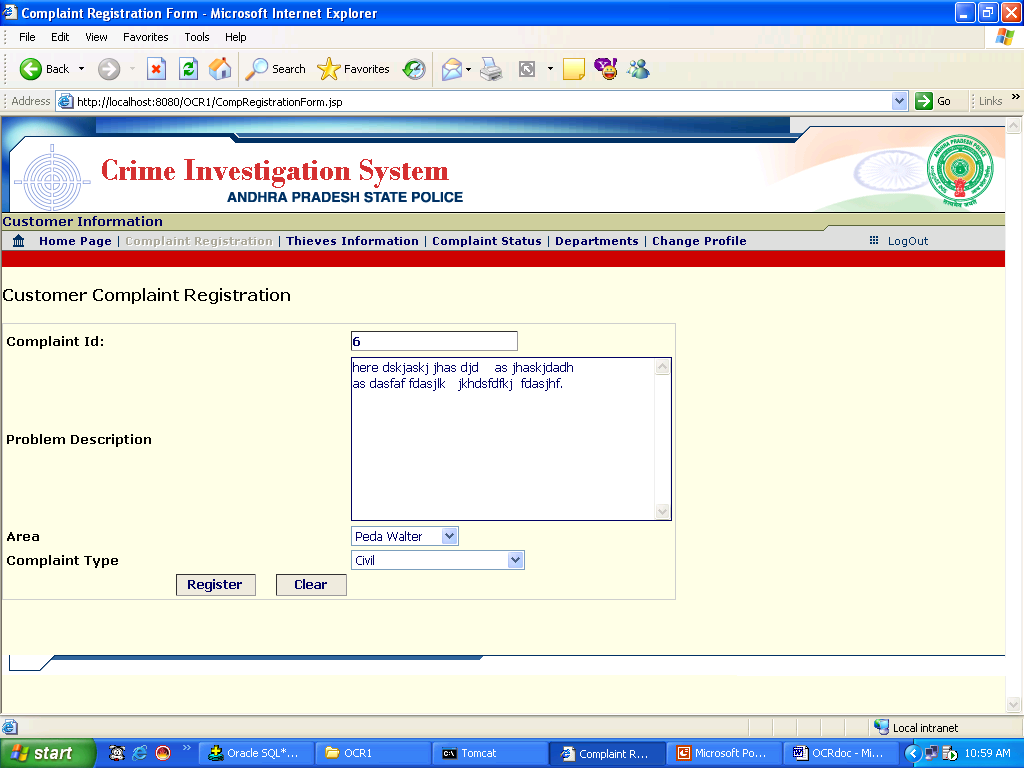
15.1.1 Overview
Functional Overview
This module/screen is used to register the new Complaint
Technical Overview
- This module takes the valid new Complaint Information.
- These New Complaint particulars will be stored into “COMPLAINT_REG” database table.
Navigation
Complaint Registration->Complaint Registration Screen
Action Controls
Control
Name |
Type |
Description |
Action |
| |
|
|
|
| Register |
button |
Gets The new Compliant from the form. |
Stores the Complaint data into table “COMPLAINT_REG” |
| Clear |
Button |
Clears the field in the form |
New Complaint Registration form will be displayed |
16. Thief Details Screen
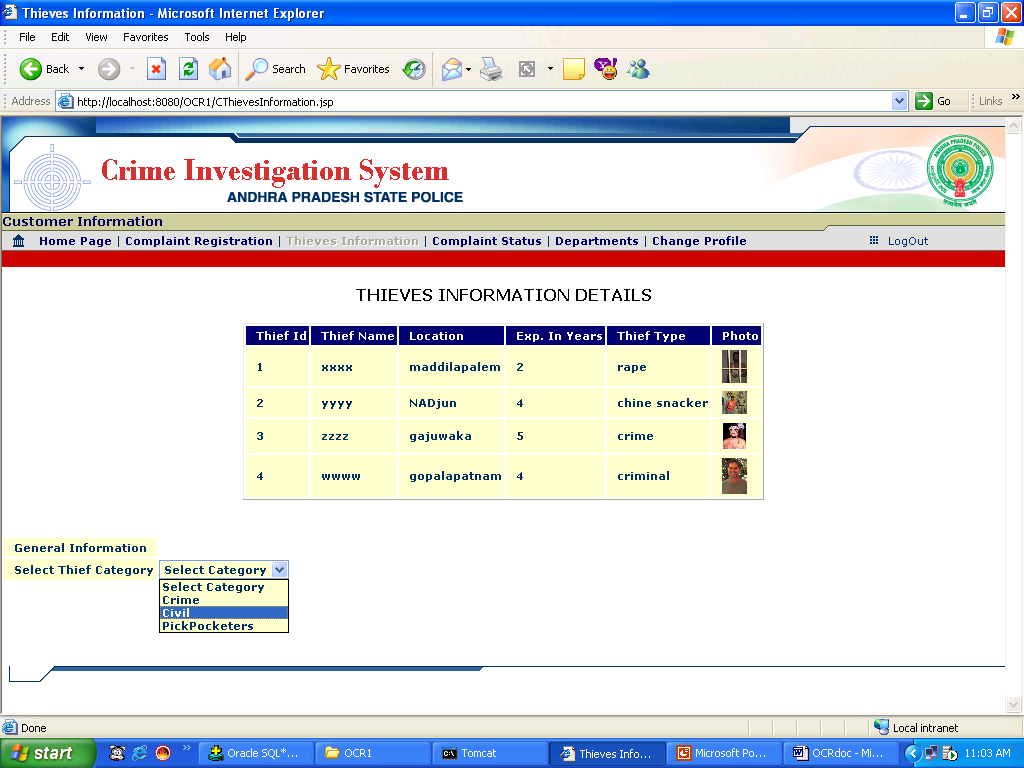
16.1.1 Overview
Functional Overview
This module/screen is used to Display the list of Thieves Information.
Navigation
Thieve Information->Thieve Information
17. Department Details Screen
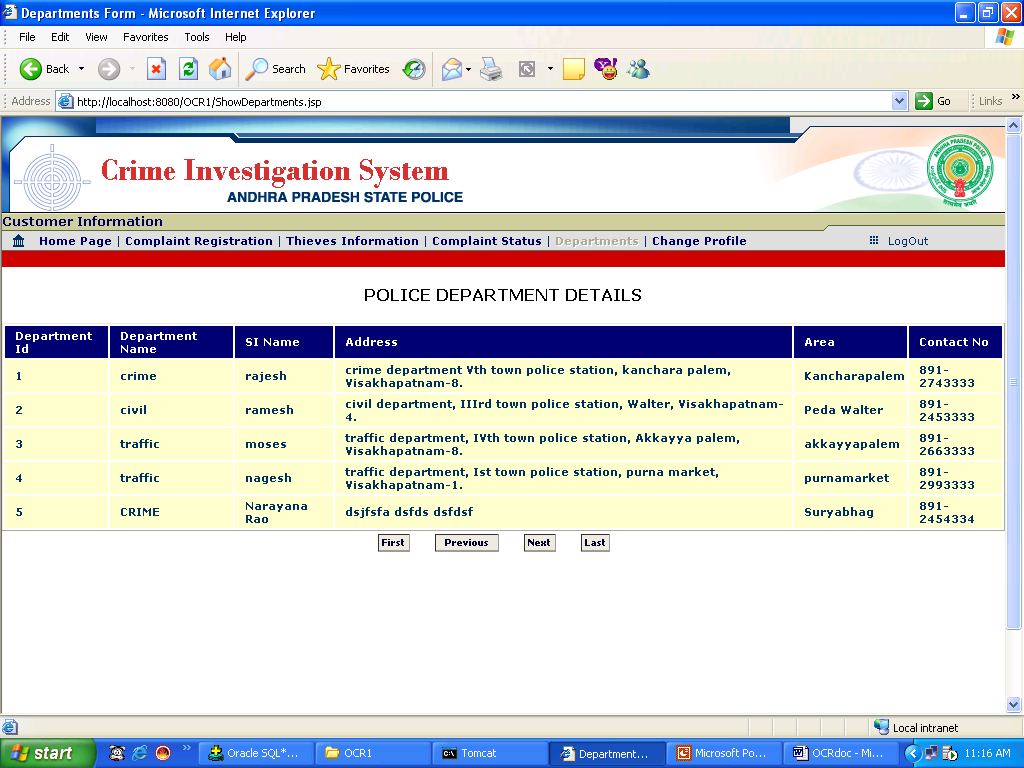
17.1.1 Overview
Functional Overview
This module/screen is used to Display the list of Departments Information.
Navigation
Departments->Department Information
18. Changing Customer Profile
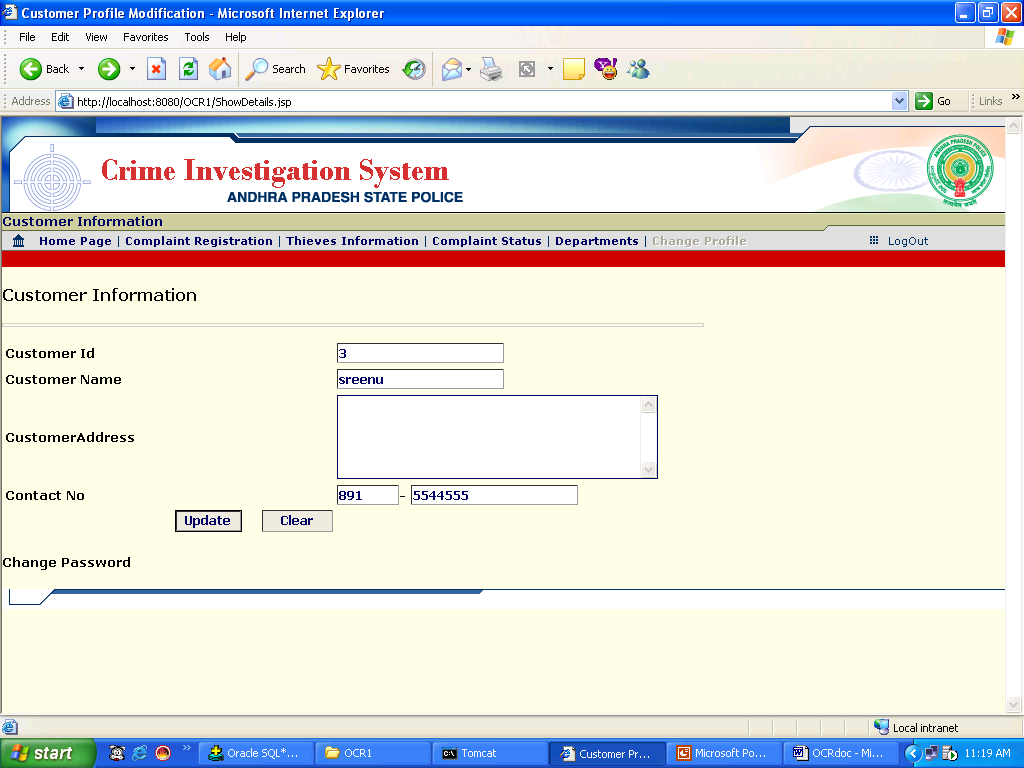
18.1.1 Overview
Functional Overview
This module/screen is used to Change the Customer Information.
Technical Overview
- This module takes the modified Customer Information from (Screen1).
- These New modified particulars will be updated into “CUSTOMER_MASTER” database table.
- If u want update these modified details then click on “Update” in SCREEN1
- If you want to change the password then click on “Change Password” then “SCREEN2” will be displayed
Navigation
Change Profile->Customer Information
19. Complaint Status Details Screen
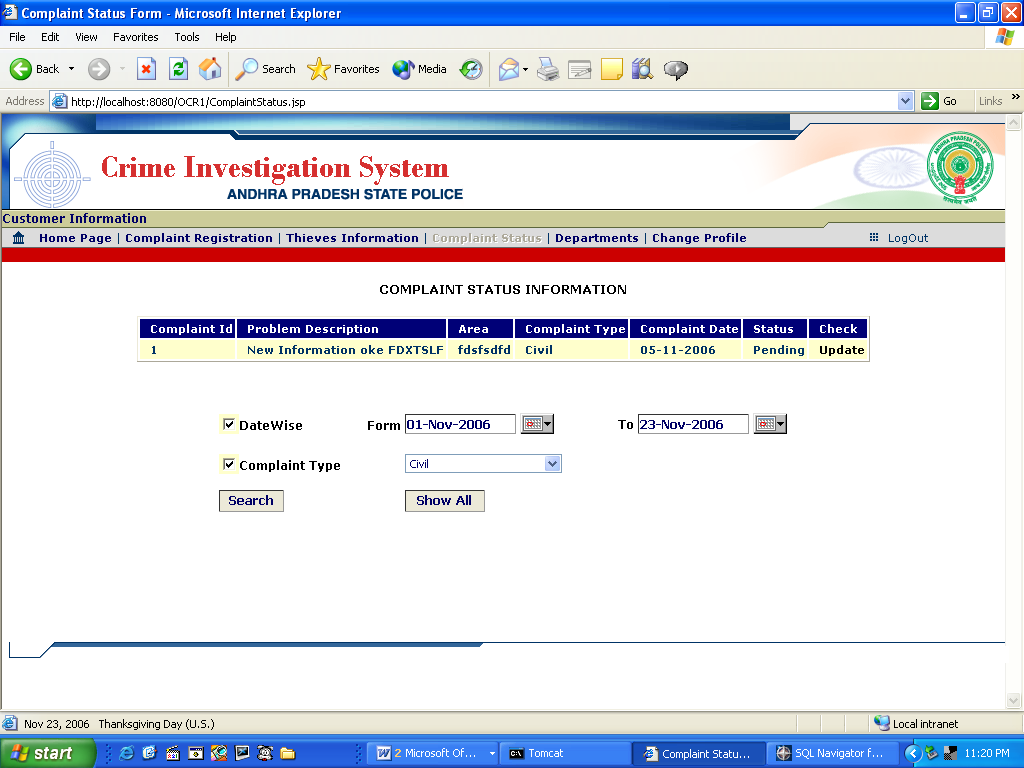
19.1.1 Overview
Functional Overview
This module/screen is used to Display the list of Complaints.
Technical Overview
- This module takes the valid search options like datewise and compliant type.
- According to the selected search option the complaints will be displayed.
- Click on “Show All” button, If no option selected then it will display all complaints information.
- Click on “Search” button without selecting any search option then it will display message “Select Valid Search option”
Navigation
Complaint Status->Complaint Information.