Specifications :
In our Flappy Bird mini-project, we were required to implement a game functionally equivalent to “Flappy Bird” using a Basys3 Board and a 128×32 pixel monochromatic Pmod OLED. Flappy Bird is a game where a ‘flying bird’ encounters obstacles in the form of vertical pipes. The objective of the Flappy Bird mini-project game is to guide the bird through the gaps in the pipes without touching them. The game is over if the aforementioned event happens. The bird changes its vertical position through a user-controlled switch and continuously flies to the right through a set of pipes. Collision detection is carried out using the known positions of the bird and the pipes.
Assumptions :
In our version of the game, the bird’s position is not horizontally fixed but moves to the right instead of the pipes moving to the left towards the bird. On reaching the end of the screen it re-enters through the left in the same level as it exists. Also, unlike the original, where pipes have an upper and lower half with a random gap between them, we have pipes either covering the upper half of the display or the lower half of the display. So we have allowed the bird to move only in two levels using a switch.
Design :
In this project, we have 4 pipes, two on the top and two at the bottom, the bird is represented by a symbol. The game has 9 levels with the game speed increasing after each level. The game also has an ‘enable’ and a ‘reset’ switch. The ‘enable’ switch is used to start the game and the ‘reset’ is used to reset the whole display and game. There is also a ‘jump’ switch which when ‘1’ places the bird in the upper half and when ‘0’ places it in the lower half. The top left corner of the screen displays the scores for the current level and the top right corner shows the current level.
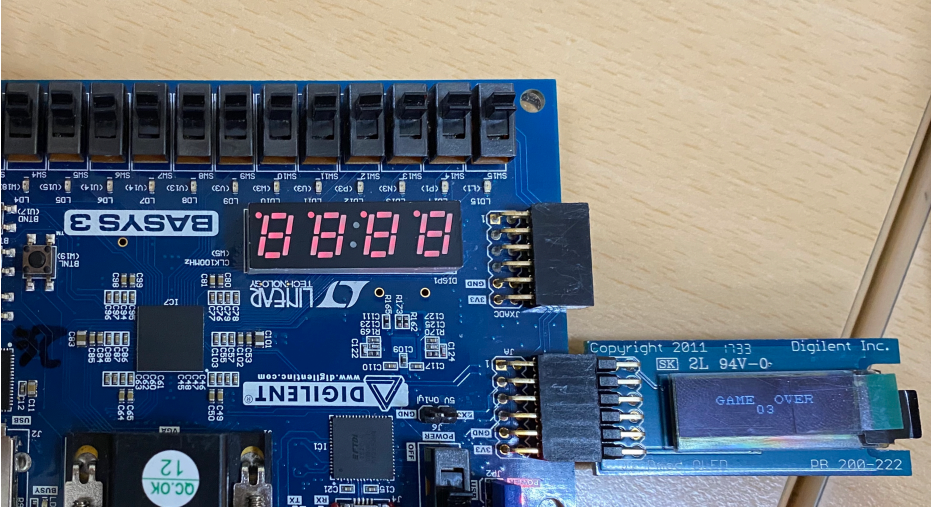
Also, the score increases by one unit when the bird moves right by one unit. When the bird reaches the end of the screen the level is incremented and there is a transition screen showing the next level and the bird reaches the start of the screen. Whenever there is a collision the screen transitions to a display and shows the game over and score in that level. Once all 9 levels are crossed the screen shows that you won.
Description of files :
1. Delay: This component is used the deploy a delay of a given amount of time.
2. SPI_interface: This is used to read data bit-by-bit and send it to the display. An 8-bit input is passed into the module and it transmits it bit-by-bit.
3. OLEDInit: This module contains all the commands to turn on the display and this has to do every time the display is powered on.
4. BirdDisp: This is the main module in which the movement of the bird is coordinated and the output for the display is determined. A set of multiple screens has been defined here which is used to display the output on the screen of the Pmod OLED. Also, the scoring and level increment part is taken care of here itself.
5. Pmod_driver: As the name suggests this module works just as a driver for all the previously defined sets of modules.
6. charlie: This is the memory module and we have imported it for use in our game.
References :
• http://www.pld.ttu.ee/~alsu/04_I2C_RTC.pdf
• https://github.com/mmattioli/ZedBoard-OLED/blob/master/rtl/ascii_rom.vhd
Testing and Results :
In this, we were able to successfully create a functional flappy bird game, with nine different levels of speed. The game used switches to change the position of the bird as can be seen on the monochromatic OLED screen. When the bird reaches the end of the screen, it reaches back to the initial column again. When the collision takes place, the game over message is displayed on the monochromatic OLED, denoting the end of the game. Our demo showed that our game played properly with no signs of bugs, glitches, or failure while maintaining a visually appealing image throughout.
Download the Complete VHDL Flappy Bird mini project code, Report and output video file.

